Underwater Photography in Roatán: A Diver’s Guide to Gear, Skills and Great Shots
If you've ever surfaced from a Roatán dive, looked at your photos and thought, "that's not what it looked like down there," you're not alone. The reef here in the Bay Islands of Honduras is ridiculously photogenic — sponge-covered walls, turtles, eagle rays and critters tucked into every crack — but water is tough on cameras and even tougher on color.
I've been lucky enough to dive all over the world, and every time I drop below the surface I'm drawn in all over again: the color, the life, the sheer magic of the creatures down there. Sooner or later, that feeling turns into a simple wish. You want to capture the moment and share it, especially with the people who may never get to see it for themselves.
That's what makes underwater photography so special. It opens a window into a blessed world most people only ever imagine, and getting to share that view is truly rewarding. But it doesn't come easy. My own photos are the product of many, many dives, hard lessons and fine-tuning, guided by mentors and fellow divers along the way. This guide brings it all together: knowledge, first-hand experience with Mother Nature and technology, and the shared wisdom of the amazing diving community I get to spend my days with.
If you take one thing from it, make it this: bring a light, and slow down. A strobe or video light is what turns a washed-out blue snapshot into a photo bursting with color. And when you think you're going slow, go slower still. Settle in, be at one with the water, and let the perfect moment come to you.
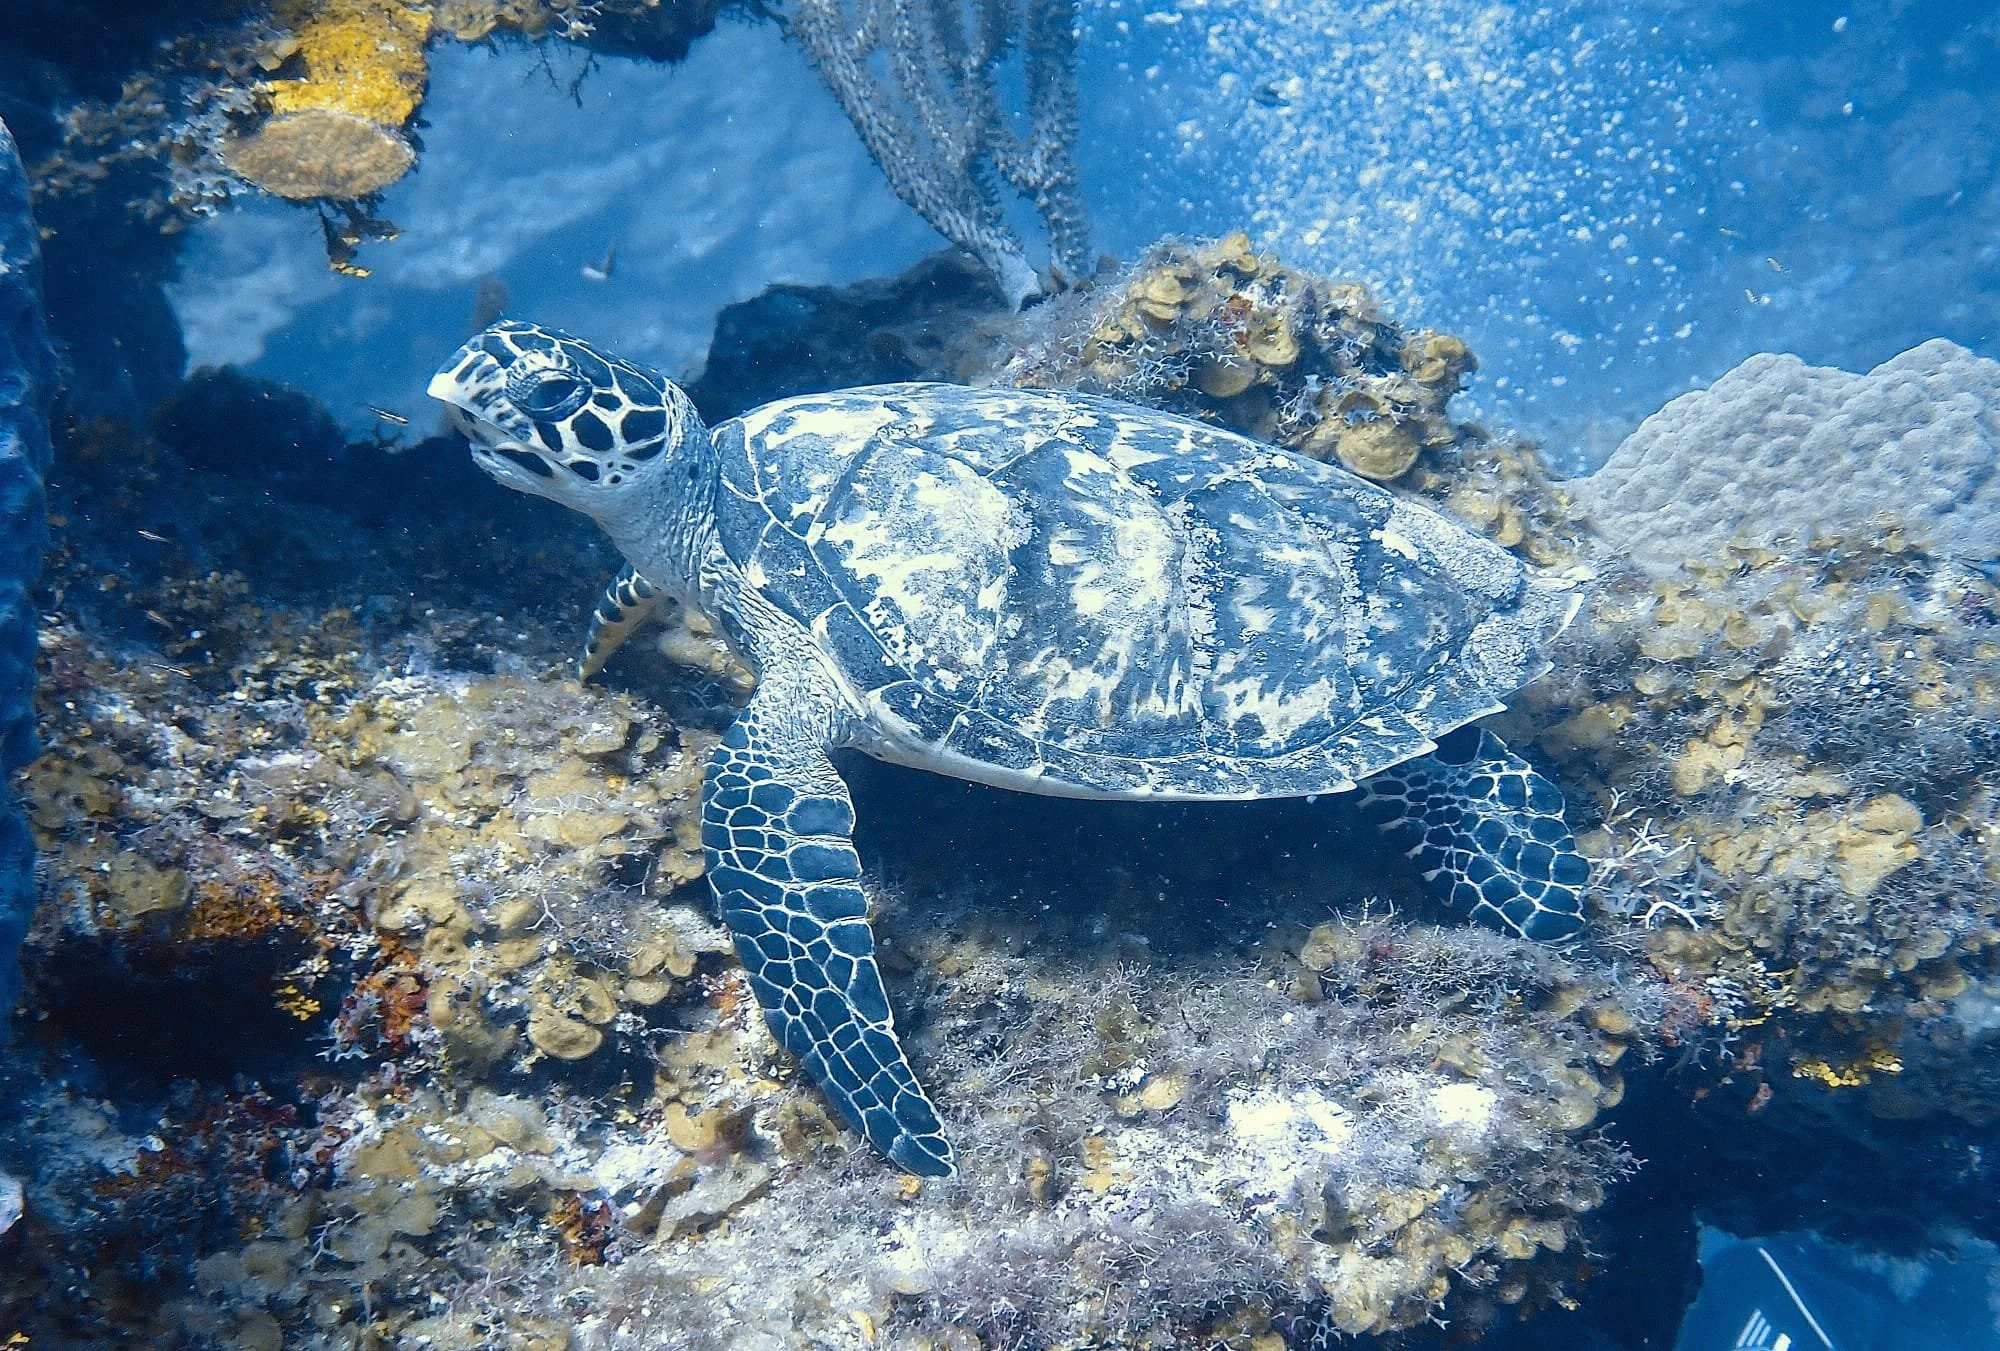
A hawksbill turtle resting on a sponge-covered reef off Sandy Bay, Roatán. Photo: Sandy Bay Divers
The good news? Better photos come down to a few things you can actually control: the right gear for your budget, a bit of light, and solid buoyancy. This guide to underwater photography in Roatán covers all of it, from phone housings to full mirrorless rigs, plus the PADI courses that make you a steadier shooter and the spots around Sandy Bay where the best subjects hang out (see all our Roatán dive sites).
The short version
Best first camera: your phone in a dive-rated housing ($259–$549), or a sealed SeaLife Micro 3.0 ($599).
Best value upgrade: an OM System TG-7 in its PT-059 housing (about $950–$1,050), then add one strobe.
Biggest improvement to your photos: your own light (a strobe or video light), then better buoyancy.
Best courses for photographers: PADI Peak Performance Buoyancy, then PADI Digital Underwater Photographer.
Best subjects near Sandy Bay: green and hawksbill turtles at Overheat Reef and Four Sponges, right off our dock.
Underwater camera setup basics: the parts of a rig
Every underwater camera system, from a phone to a pro mirrorless rig, is built from the same handful of parts. You can start with just the first one and add the rest over time.
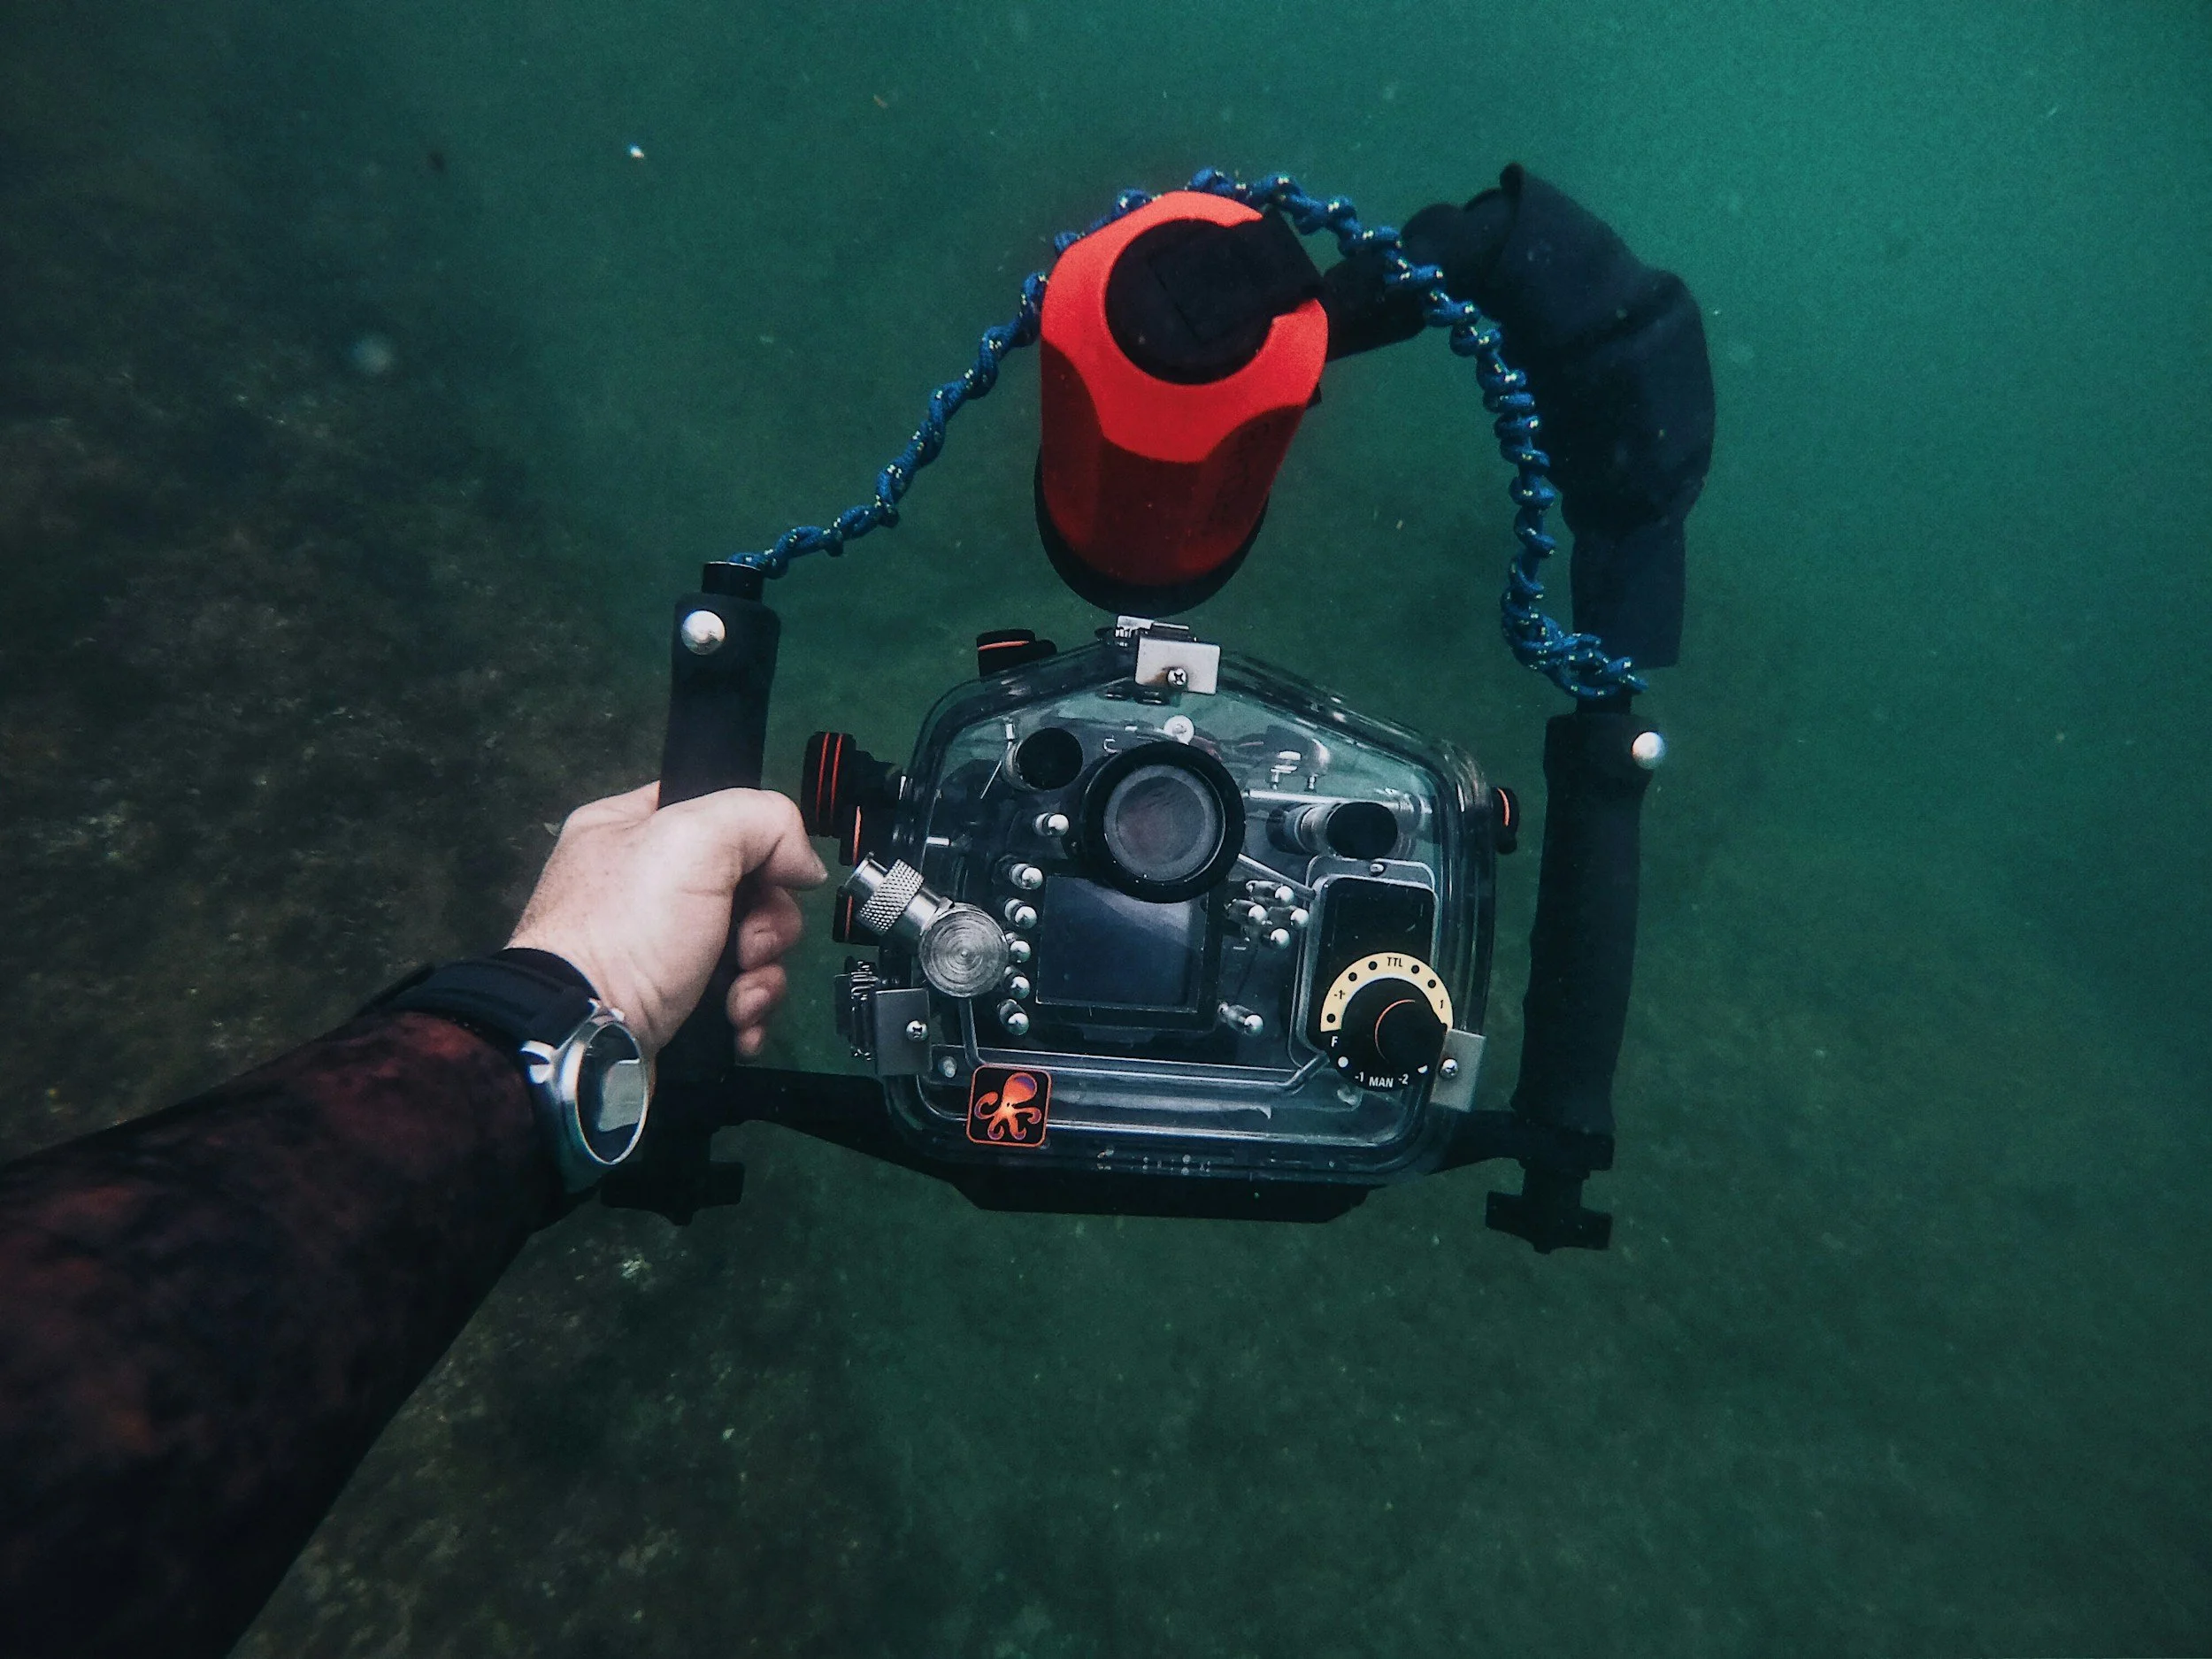
A full underwater rig: camera housing, dual-handle tray, flexible arm and a video light. Photo: Maël Balland / Unsplash
Camera — takes the picture: phone, action cam, compact or mirrorless. Day one: yes.
Housing — the waterproof shell that keeps the camera dry and gives you button access. Day one: yes, unless the camera is waterproof to your dive depth.
Port — the front window of the housing: flat for macro, dome for wide angle. Comes with the housing on phones and compacts.
Tray and handles — a base plate with grips that steadies the camera and holds lights. Strongly recommended once you add a light.
Arms and clamps — ball-joint segments that position your strobes or lights away from the lens. Only when you add lights.
Strobes or video lights — bring back color and freeze motion. The single biggest upgrade after the camera.
Wet lenses — screw or bayonet onto the port to go wider or closer, swappable mid-dive. Nice to have.
Floats — foam or float arms that make the rig close to neutrally buoyant. Needed once the rig gets heavy.
A good order to build in: camera and housing first, then a tray and one light or strobe, then a wide or macro wet lens, then a second strobe.
Underwater camera housings: your most important buy
The housing is the most important purchase you'll make, because it's the only thing between salt water and your camera. A phone's IP68 rating is meant for accidental dunks, not a 20-meter reef dive, so you always need a housing rated to your dive depth (DiveVolk guide).
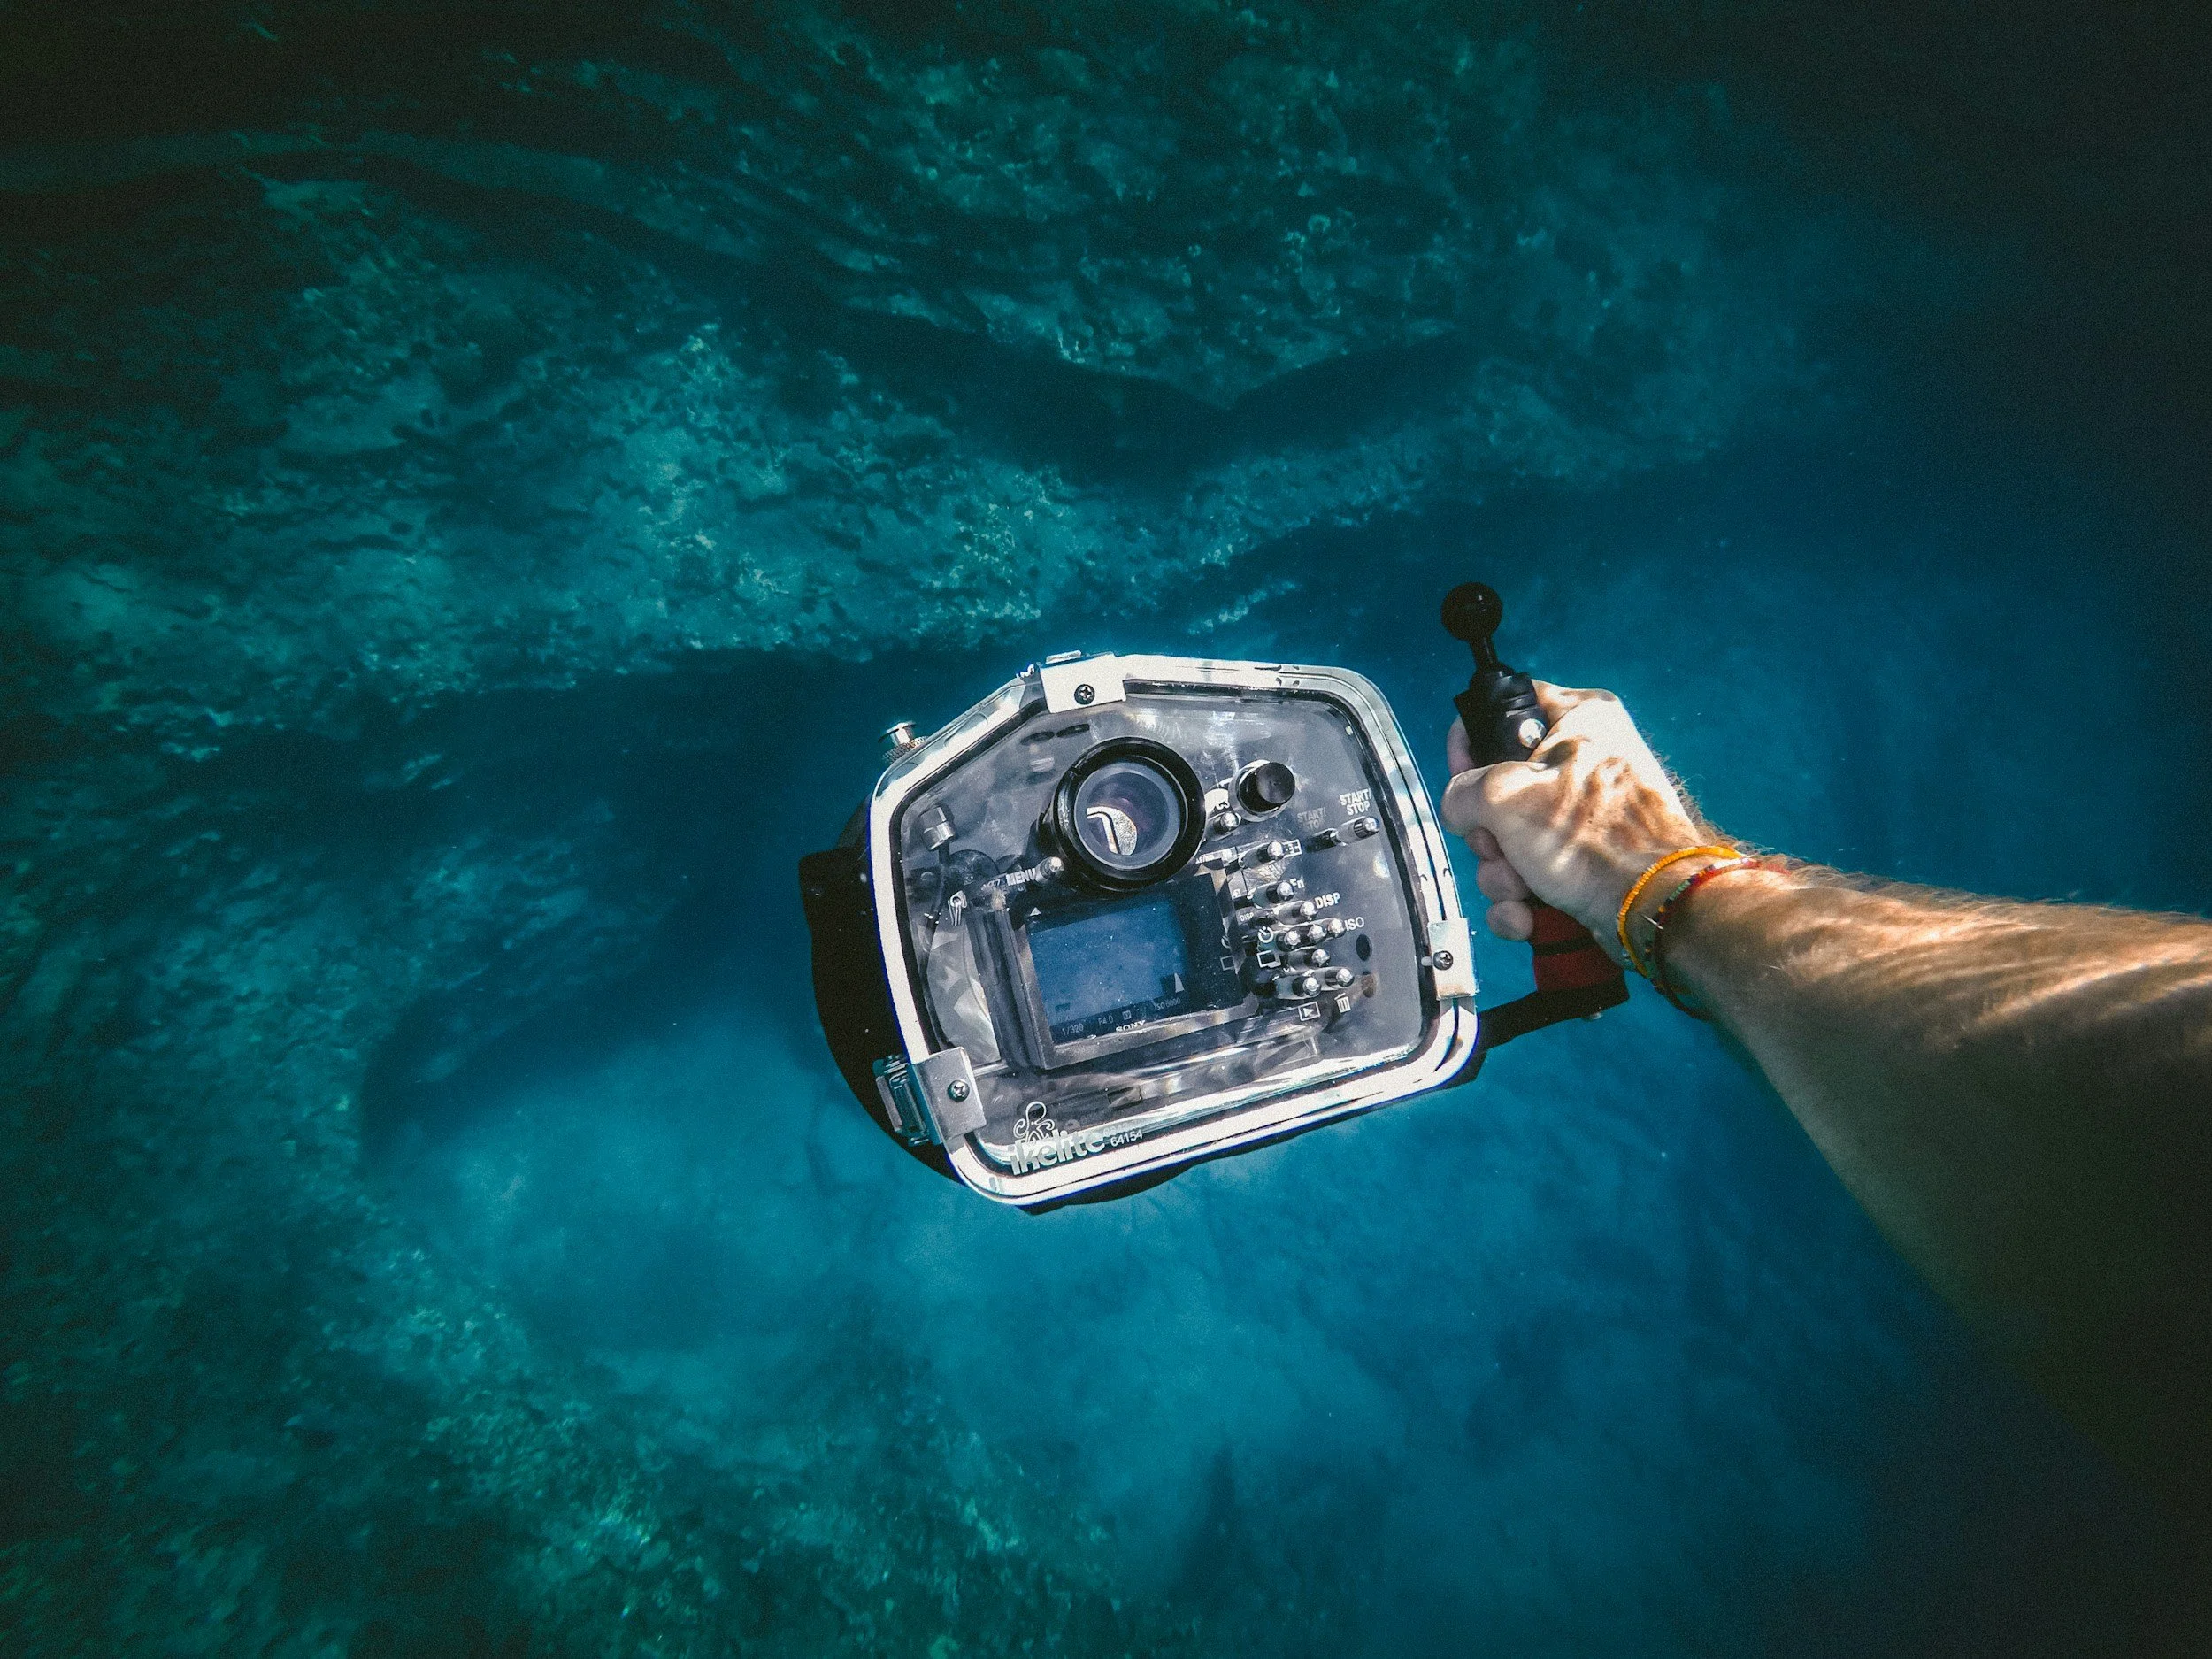
The housing is the only thing between salt water and your camera. Photo: Jakob Owens / Unsplash
Types of housing
Smartphone housings — The SeaLife SportDiver Ultra is rated to 130 ft / 40 m and has leak alarms and a vacuum check (Markus Hagner review). The DiveVolk SeaTouch 4 Max line lets you use the touchscreen underwater and is rated to 60 m. Budget pouches and cheap cases are fine for snorkeling, not scuba.
Compact camera housings — Usually made by the camera brand or a third party. The OM System PT-059 for the TG-7 is rated to 45 m / 147 ft, keeps access to all controls, and has a 52 mm thread for wet lenses (Digital Camera World).
Mirrorless and DSLR housings — Built for one specific camera body, with interchangeable ports for different lenses. Nauticam housings are machined aluminum; Ikelite uses an ABS-PC plastic blend that is lighter and costs less (Dive Photo Guide).
Vacuum leak detection is worth it. You pump some air out of the sealed housing before the dive, and an LED turns green when the seal is holding. That tells you the housing is watertight before you ever get wet (Nauticam).
The number one camera problem we see at the shop? It isn't a broken camera or forgotten gear. It's a flooded housing, and it almost always comes down to skipped prep. A single hair or a few grains of sand on an O-ring is all it takes. That's why we swear by a simple five-minute pre-dive camera check: inspect and clean every O-ring, check the seals and latches, then give the housing a quick dunk in the rinse bucket before you roll off the boat. Five minutes now saves your camera and your trip.
Care basics: check and lightly grease the main O-ring before every dive, keep hair and sand off the seal, soak the housing in fresh water after diving, and press every button while it soaks to flush salt out.
Underwater strobes and video lights
Water soaks up red light first, then orange and yellow, so the deeper you go the bluer and greener everything looks (Scuba Diving). Adding your own light is the single biggest upgrade most divers can make.
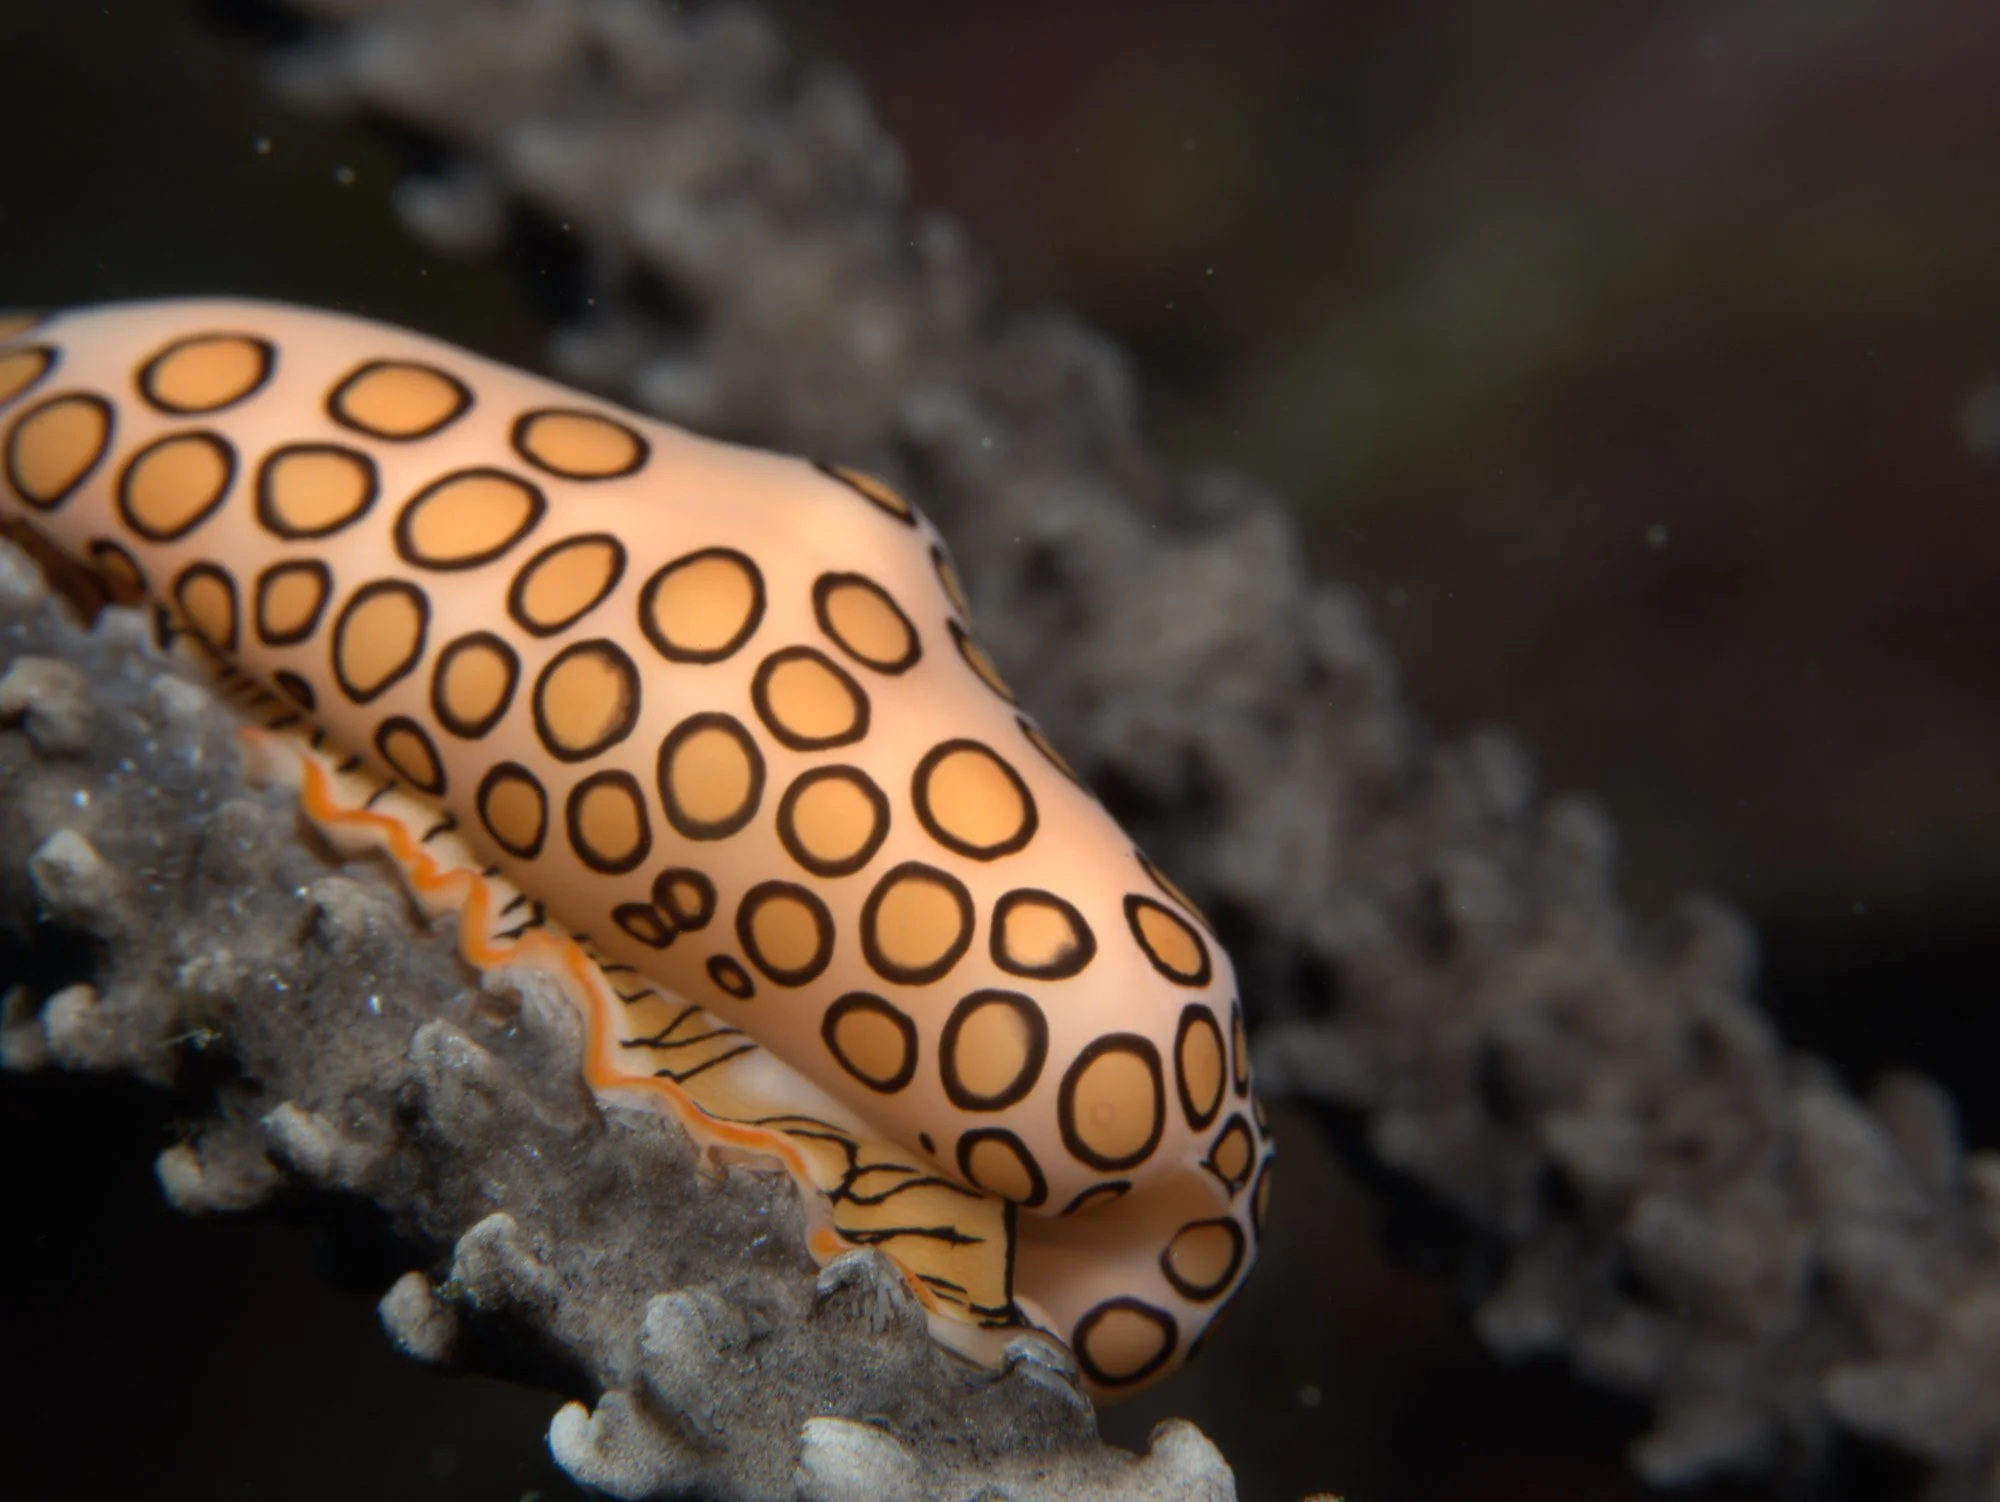
Strobe light brings back the oranges that water strips out: a flamingo tongue snail on a sea rod in Roatán. Photo: Anna Borysova
Strobe or video light?
Strobes (underwater flashes) fire a short, powerful burst. They freeze fish in motion and give the sharpest, most colorful stills.
Video lights stay on constantly. They're easier to learn, work for both photos and video, and double as a focus light, but they're weaker than a strobe at a distance.
Hybrids like the Backscatter Hybrid Flash HF-1 do both.
What to look at when buying a strobe
Compatibility first. Check how it will trigger with your camera and housing (fiber optic, electrical cord, or optical trigger) and whether TTL auto-flash works on your system. Don't assume it does (Mozaik).
Beam angle. About 110–120° suits wide-angle reef shots; a narrower 80–100° beam is better for macro.
Power, recycle time, and battery. More power lets you light bigger scenes; fast recycle means you don't miss the next frame.
One or two? Start with one strobe, learn to position it, then add a matching second later (Kraken Sports).
Popular underwater strobes and prices (USD, October 2026)
Sea & Sea YS-03 Solis — $329.95. Simple TTL-only entry strobe.
AOI Q1 — $379.00. Small, budget-friendly, manual power.
Sea & Sea YS-01 Solis — $430.05. Beginner TTL plus manual.
Inon S-220 — $523.00. Compact travel strobe with a wide beam.
Backscatter Mini Flash 3 — $599.00. Compact and macro shooters.
Sea & Sea YS-D3 Duo — $749.95. Best all-rounder: guide number 33, 110°×100° beam, rated to 100 m.
Kraken KR-S160 — $850.00. Extra power for wide angle.
Backscatter Hybrid Flash HF-1 — $1,099.00. Strobe and video light in one.
Prices from Backscatter's strobe catalog.
No light yet? Use a red filter. A red filter on an action camera or phone housing helps the camera find a natural white balance. A good rule of thumb: no filter above 10 ft, a shallow filter from 10–25 ft, and a dive filter below that (Dive Photo Guide). Filters only work in natural light, so take them off when you turn on video lights.
Underwater lenses and ports: wide vs. macro
Water magnifies everything and narrows your field of view, so lens choice matters more underwater than on land. There are two ways to handle it.
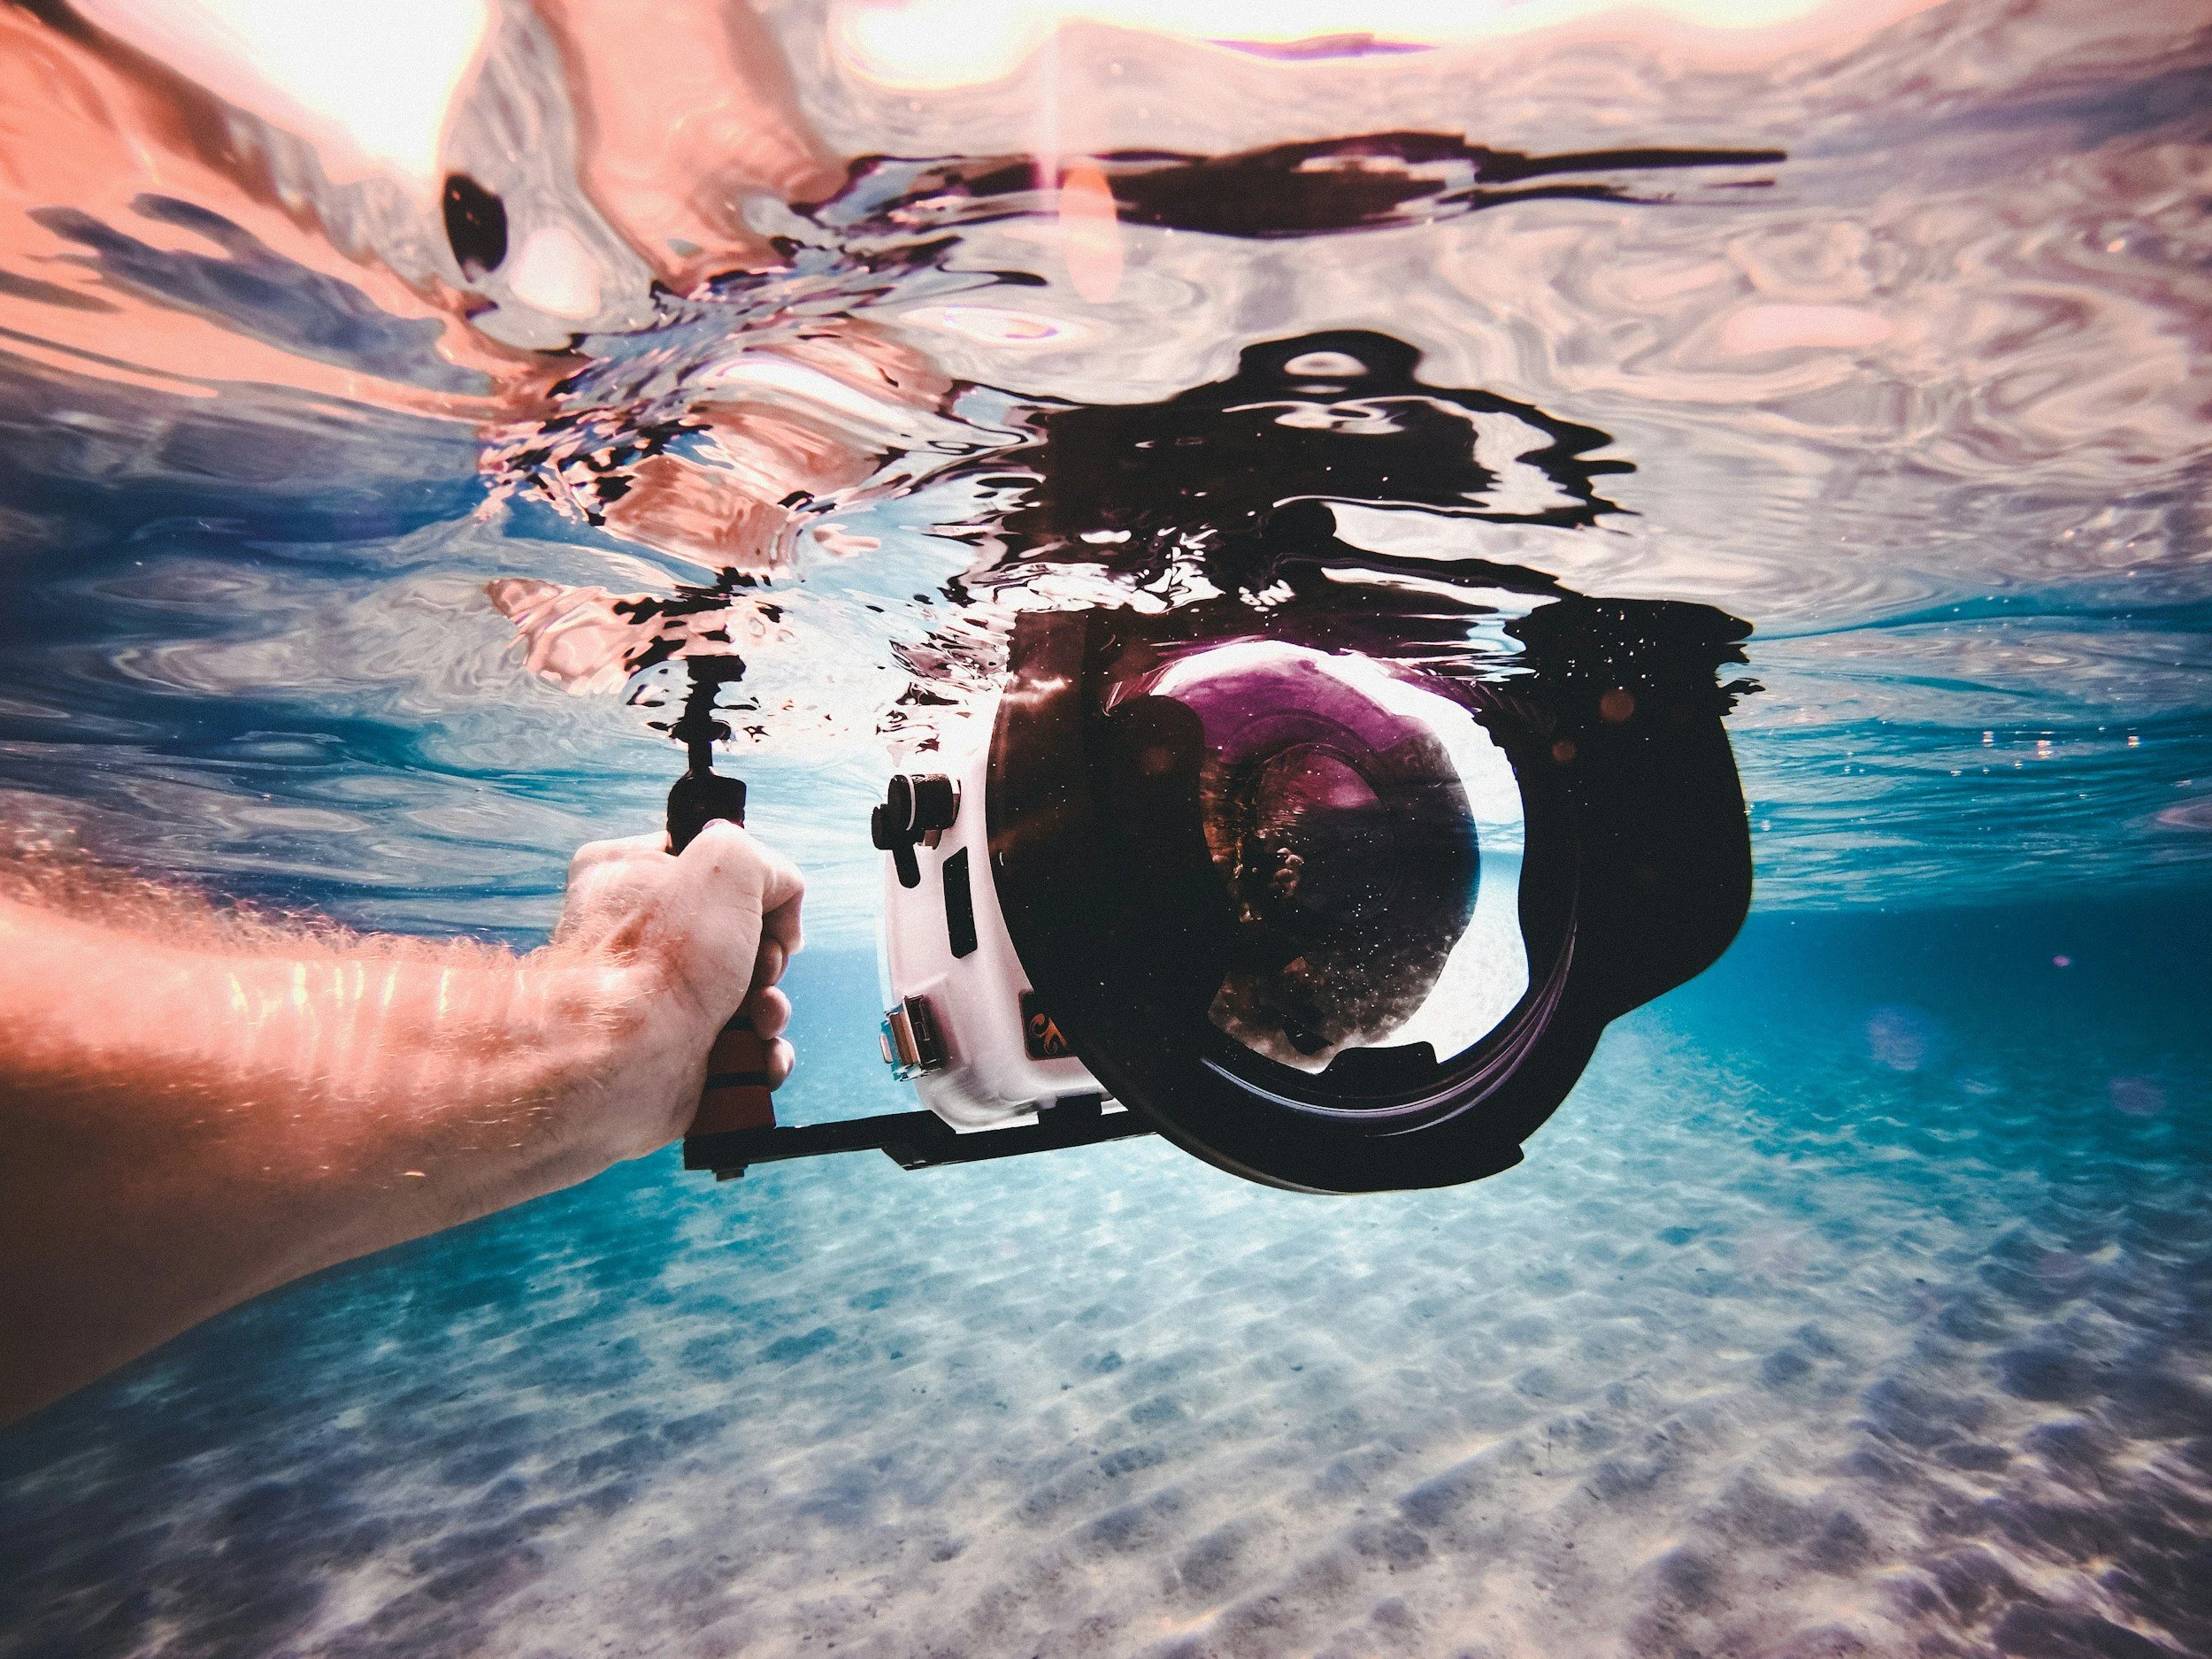
A dome port keeps wide-angle shots sharp from edge to edge and makes over-under split shots possible. Photo: Jakob Owens / Unsplash
Ports (for mirrorless and DSLR housings)
Dome ports go with wide-angle lenses. A curved dome restores the lens's full field of view and keeps corners sharp; most shooters use an 8–9 inch dome (Underwater Photography Guide). Domes are also the go-to for over-under split shots.
Flat ports go with macro lenses. They magnify the image by about 25%, helping a macro lens reach its full potential.
Your lens choice is locked in once you're underwater, so pick wide or macro before the dive.
Wet lenses (for phones, compacts and some mirrorless setups)
Wet lenses attach to the outside of the housing and can be added or removed during the dive, so you can shoot a turtle wide and a shrimp close-up on the same dive (Scuba Diving).
Wide-angle wet lenses — For example, the Backscatter M52 Wide Angle lens for the TG series takes coverage to 120°, while the smaller M52 Air Lens restores an 81° view and still lets you use microscope mode.
Macro wet lenses (diopters) — +6 is a gentle first macro lens; +10 to +12 gets you much closer to tiny critters.
Thread size matters. Check whether your housing uses M52, M67, or a bayonet mount before buying; adapters exist for most combinations.
Plan for weight. High-end wide wet lenses are heavy underwater and often need extra floats.
Which first? On Roatán's reefs, a wide lens gets you the reef-scape, turtle, and diver shots most people want. Add a +6 to +12 macro lens next for the small stuff.
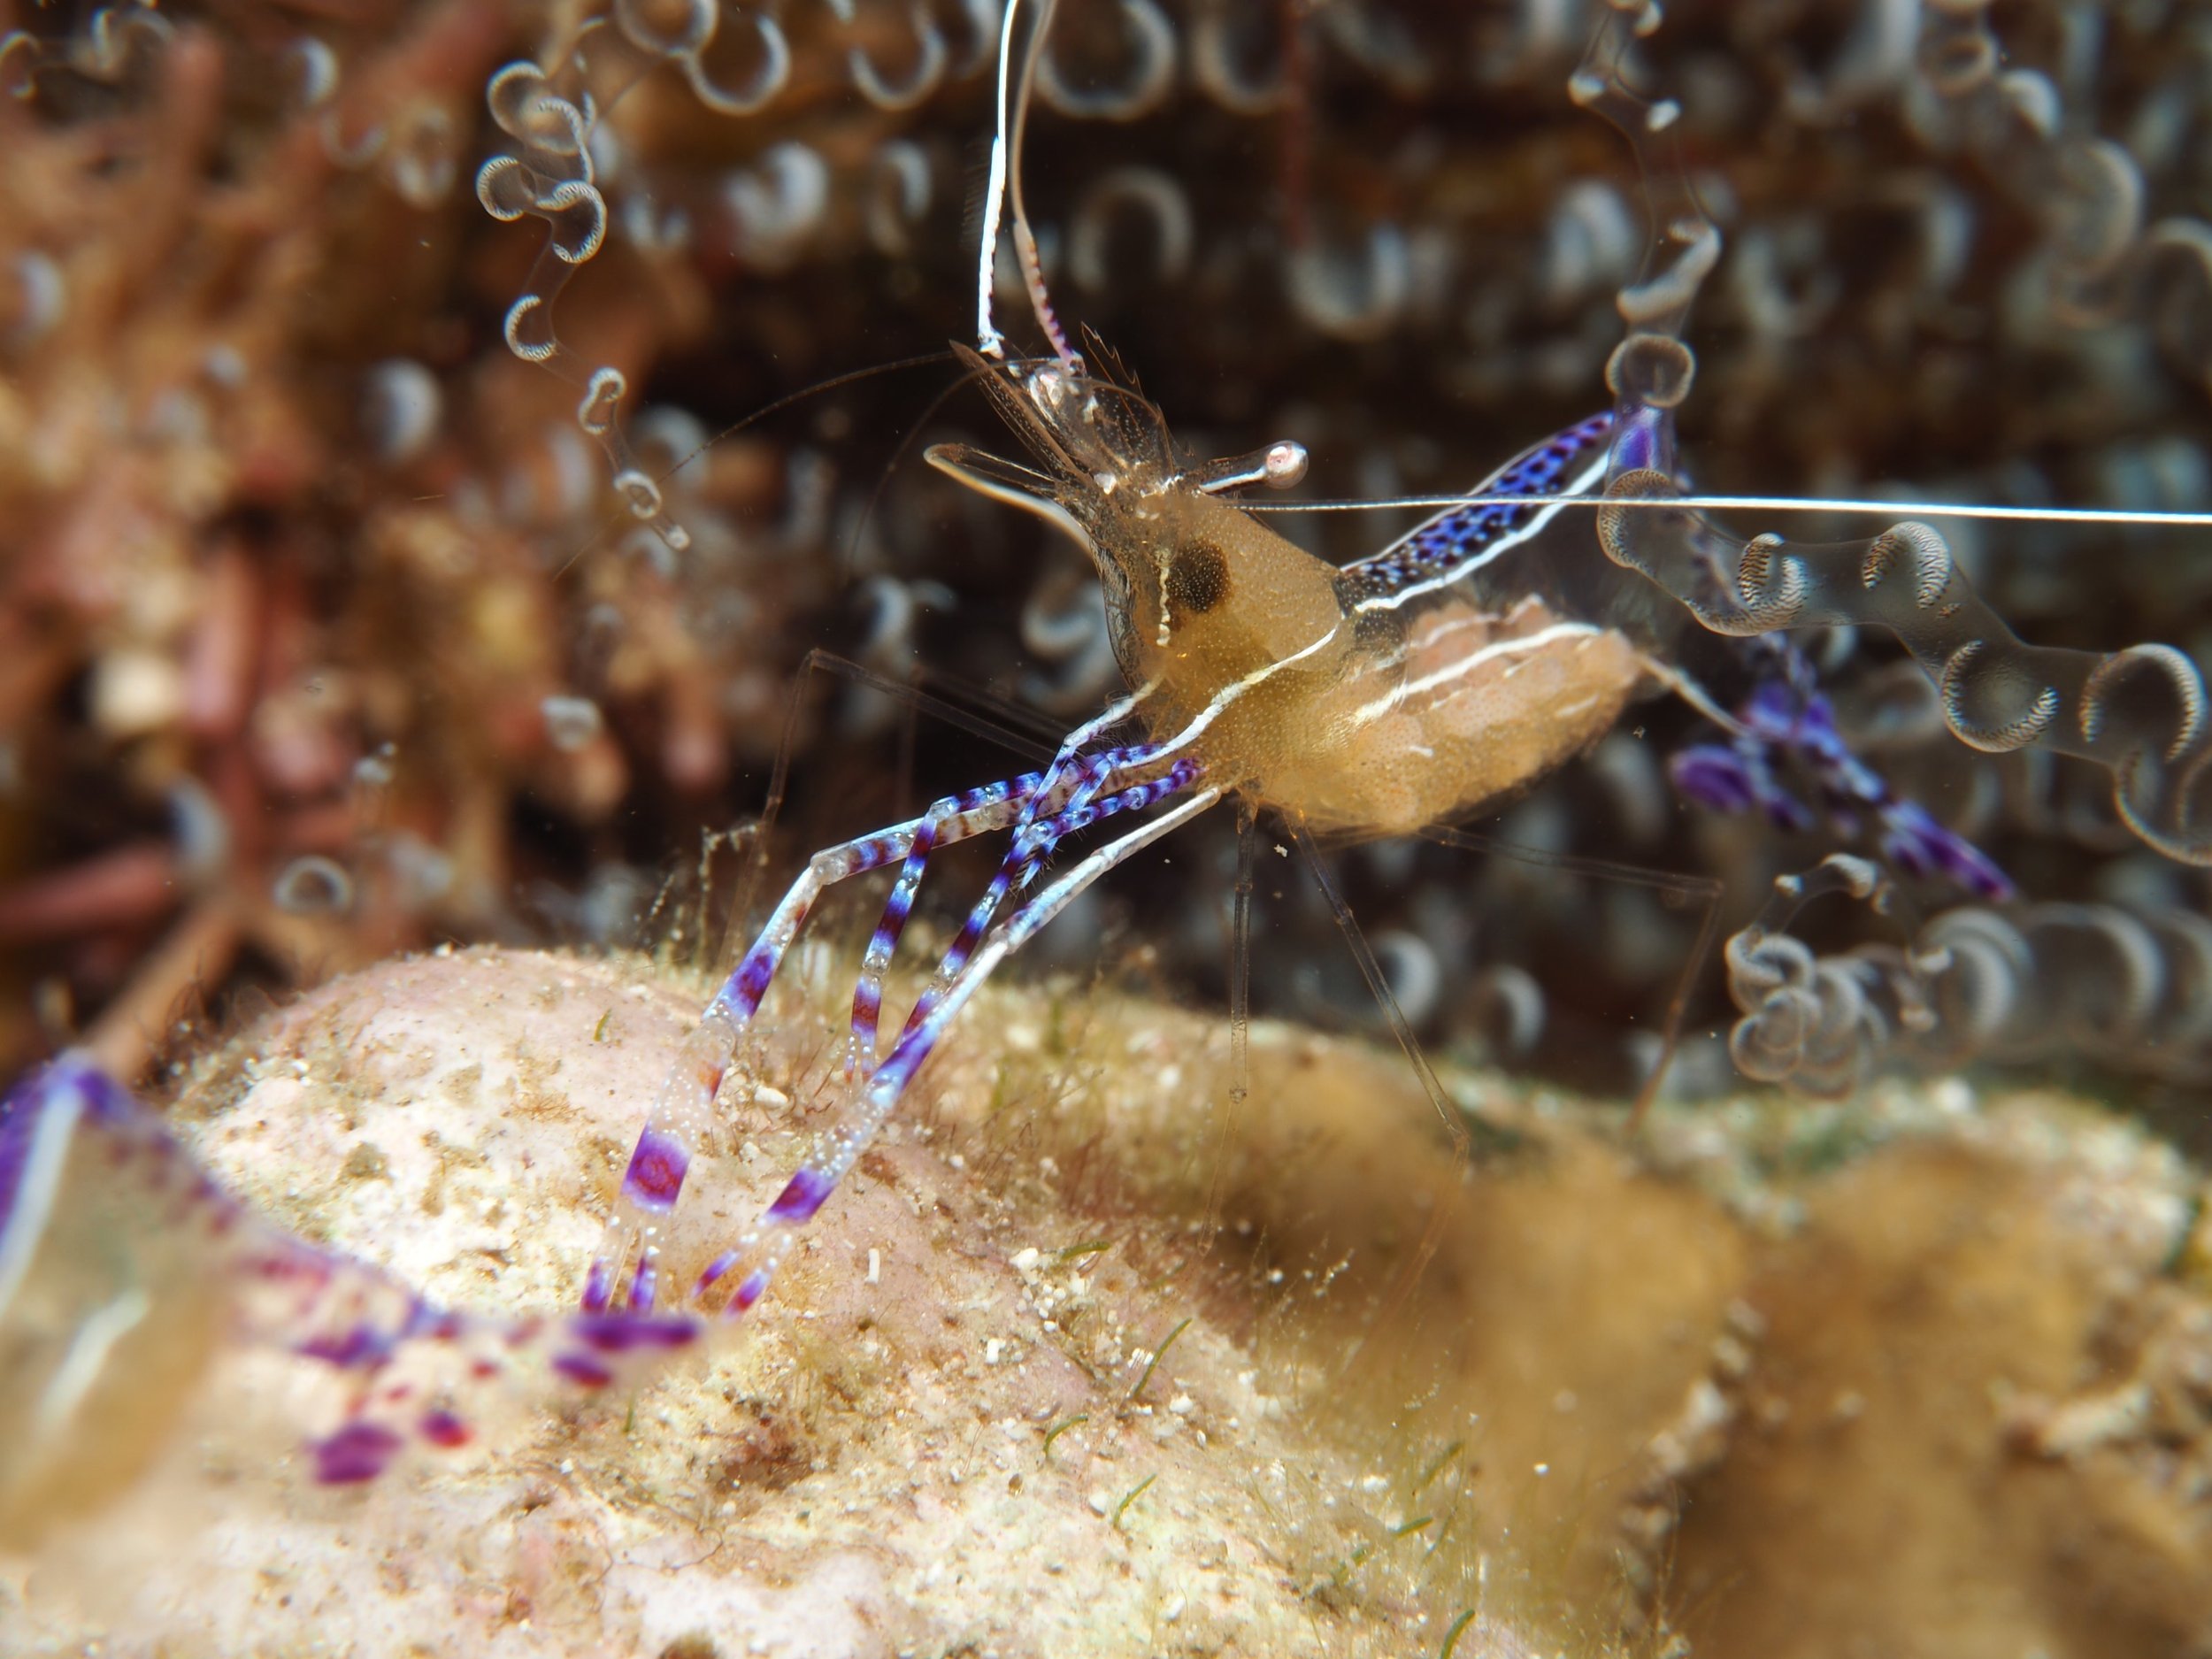
Pederson cleaner shrimp on a corkscrew anemone, Roatán. Shot on an Olympus OM-D E-M10 Mark IV with the 14–42mm kit lens at 42mm, f/20, 1/100 s, ISO 100, with flash. Photo: Anna Borysova
Underwater camera settings to start with
These are common starting points, not rules. Take a shot, check it on the screen, and adjust: that's the Shoot, Examine, Adjust method PADI teaches in its photography course.
Wide-angle reef scene: phones and action cams, use underwater mode or a red filter and stay shallow. Compacts and mirrorless with strobes: start at f/8, 1/125–1/200 s, ISO 100–400.
Macro critters: phones and action cams, use macro mode, a video light and a macro wet lens. With strobes, f/11–f/16, 1/200–1/250 s, ISO 100–200.
Natural light in shallow water (about 10 m / 30 ft or less): phones and action cams on auto, with a red filter below about 3 m / 10 ft. Bigger cameras, manual white balance, ISO 200–800, at least 1/125 s.
Video with lights: lights on, filter off. Set a custom white balance off a white slate and keep the shutter about double your frame rate.
Shoot RAW if your camera allows it, so you can fix white balance and color afterward.
Turn off the built-in flash unless it's firing your strobes through fiber-optic cables. On its own, it lights up the floating particles in front of the lens (backscatter).
Use continuous autofocus for moving subjects like turtles and rays.
Edit lightly afterward. Free and low-cost apps like Snapseed or Lightroom Mobile can fix white balance and contrast in a minute.
Underwater photography accessories worth having
Tray and handles — steadies the camera and gives you mounting points for lights.
Arms and ball clamps — position lights away from the lens to cut backscatter.
Float arms or float collars — most housings sink; floats bring the rig close to neutral so your wrists don't tire.
Red or magenta filter — color correction for action cams and phones in natural light.
Focus light — a small, dim light that helps autofocus in low light and at night.
Snoot — narrows a strobe beam to a spotlight for dramatic macro shots.
Diffusers — soften strobe light and widen coverage.
Fiber-optic cables or sync cords — connect the camera's flash signal to your strobes.
Vacuum valve and pump — lets you confirm the seal before every dive.
Lanyard or coil leash — keeps the camera clipped to you.
Spare O-rings, grease and a silica pack — prevents fogging and gives you a backup seal.
Extra batteries and memory cards — two dives a day burns through both fast.
The best underwater camera setups for every budget
Looking for the best underwater camera for diving on your budget? Prices below are US retail list prices checked in October 2026, before tax and shipping. Shop around: sales and bundles change often.
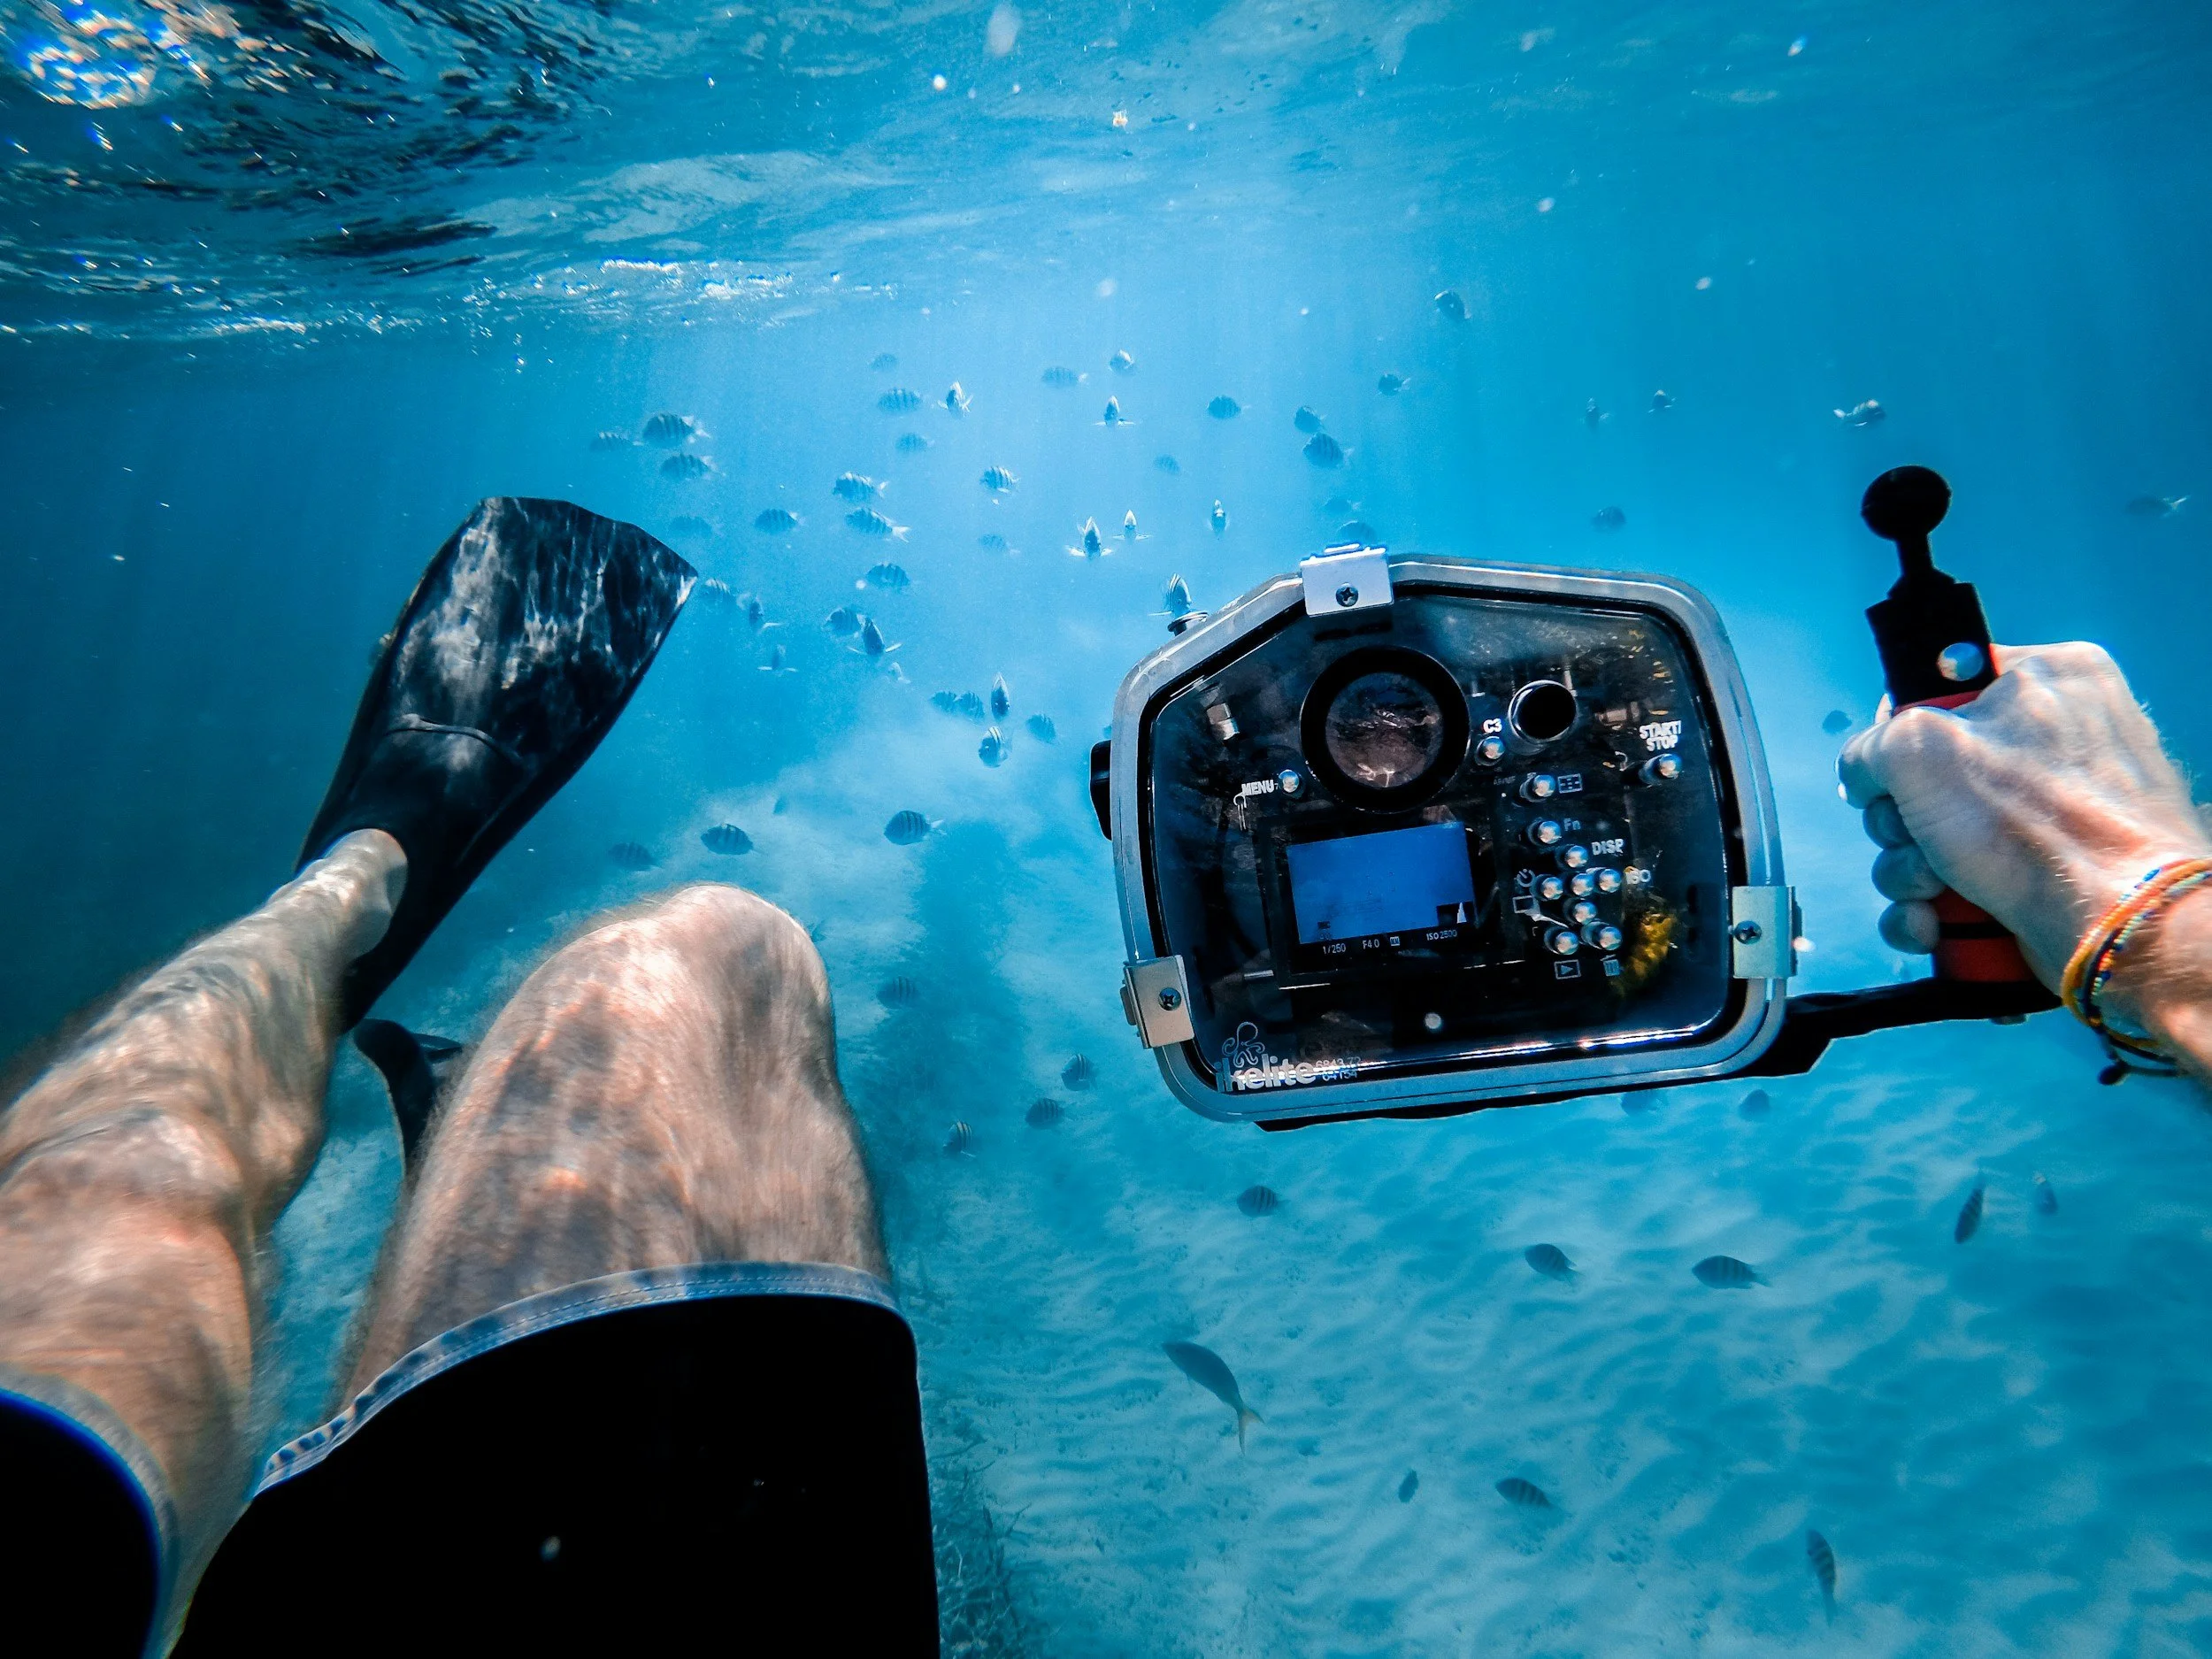
Even a compact camera in a simple housing can bring home great reef photos. Photo: Jakob Owens / Unsplash
Underwater camera budgets at a glance
| Budget | Best setup | Approx. cost (USD) | Best for |
|---|---|---|---|
| Low | Your phone in a dive-rated housing, or a sealed SeaLife Micro 3.0 | $259–$599 | Holiday photos, video and social media |
| Medium | OM System TG-7 in a PT-059 housing, then one strobe; or a Sony RX100 VII rig | $950–$3,045 | Sharper photos, great macro, room to grow |
| High | Mirrorless (Sony a6700 or full-frame) in a pro housing with two strobes | $4,195 and up | Serious photographers who want interchangeable lenses |
US list prices checked October 2026, before tax, shipping, ports and arms. Full details for each budget below.
Low budget: under about $700
Best for divers who want great memories and social-media shots without a big investment.
Your phone + SeaLife SportDiver S housing — $259 + phone. Rated to 30 m; easy controls.
Your phone + SeaLife SportDiver Ultra housing — $349 + phone. Rated to 40 m / 130 ft, leak alarms, fits larger phones.
Your phone + DiveVolk SeaTouch 4 Max — $479–$549 + phone. Full touchscreen use underwater, rated to 60 m.
SeaLife Micro 3.0 — $599. Permanently sealed (no O-rings to flood), rated to 60 m / 200 ft, 3+ hour battery.
Action camera (GoPro HERO13, DJI Osmo Action) — price varies. Great video; GoPro is waterproof to 10 m on its own, so add a dive housing and a red filter for scuba.
Add when you can: a red filter and a small video light.
Medium budget: about $1,000–$3,000
Best for divers who want real image quality, macro capability, and room to grow.
OM System TG-7 + PT-059 housing — about $950–$1,050. The most popular beginner rig; superb macro and microscope mode (Backscatter).
TG-7 + Mini Flash 3 strobe package — $1,827.42 (sale). Camera, housing, and strobe bundled.
Add: Backscatter M52 wide-angle wet lens — about $399. 120° wide shots on the TG housing.
Sony RX100 VII + Fantasea or Ikelite housing + YS-D3 Duo strobe — about $2,950–$3,045. 1-inch sensor, fast autofocus, top-rated premium compact.
High budget: about $4,000 and up
Best for divers who are serious about photography and want interchangeable lenses.
Sony a6700 + Ikelite 200DLM/E housing + 2× YS-D3 Duo — about $4,195 before ports, lenses, and arms. APS-C mirrorless at a sensible price; lighter plastic housing.
Sony a6700 + Nauticam NA-A6700 + 2× YS-D3 Duo — about $6,100 before ports, lenses and arms. Aluminum housing, vacuum and leak detection standard.
Full-frame body (e.g., Sony a7 V) + Nauticam NA-A7V or Ikelite 200DL — housing $4,700 (Nauticam) or $2,395 (Ikelite), plus body, lenses, ports and strobes. Pro image quality for big wide-angle scenes and low light.
Don't forget the hidden costs at the medium and high levels: ports, port extensions, arms, clamps, floats, a vacuum valve, a padded travel case, and spare batteries can easily add several hundred dollars or more.
Underwater camera buyer's guide: 9 questions
What do I want to shoot? Video, wide reef scenes, macro critters, or a bit of everything? This decides your camera, port, and lights.
How deep do I dive? Make sure the camera or housing is rated deeper than your deepest planned dive. Snorkel-grade cases are not scuba gear.
What's my total budget? Budget for the whole system, not just the camera.
Can I grow with it? Look for standard threads (M52/M67) or interchangeable ports so you can add wet lenses and strobes later.
Is there vacuum or leak detection? It's the best insurance against a flood.
Will my strobe trigger with my camera? Confirm triggering and TTL support for your exact housing before buying.
Can I reach the controls with gloves on? Handle the housing before you buy if you can.
How will I travel with it? Consider size, weight, a carry-on case, and airline rules for lithium batteries. While you're planning, read why every diver should have DAN dive insurance.
Is there a local dealer or service center? O-rings, spare parts, and repairs are easier with support nearby.
Our honest advice: buy the best housing and lighting you can afford, then upgrade the camera later. Good light and good buoyancy will improve your photos more than a pricier camera body.
7 underwater photography tips for Roatán
Master your buoyancy first. Steady buoyancy means sharp photos and a safe reef. If you can hover, you can shoot. A PADI Peak Performance Buoyancy course is the fastest way there.
Get close, then get closer. Water blurs and dulls everything between you and your subject.
Shoot upward. Angling slightly up puts blue water behind your subject instead of a busy reef, so it pops.
Keep the sun behind you. On shallow dives, natural light from behind lights up your subject. Turn around and try silhouettes too.
Fix color with light or white balance. Reds fade within the first few meters.
Be patient with marine life. Approach slowly from the side and let animals get used to you.
Check your housing before every dive. Clean the O-ring, look for hair or sand, and do a quick dunk test in a freshwater rinse bucket before you jump in.
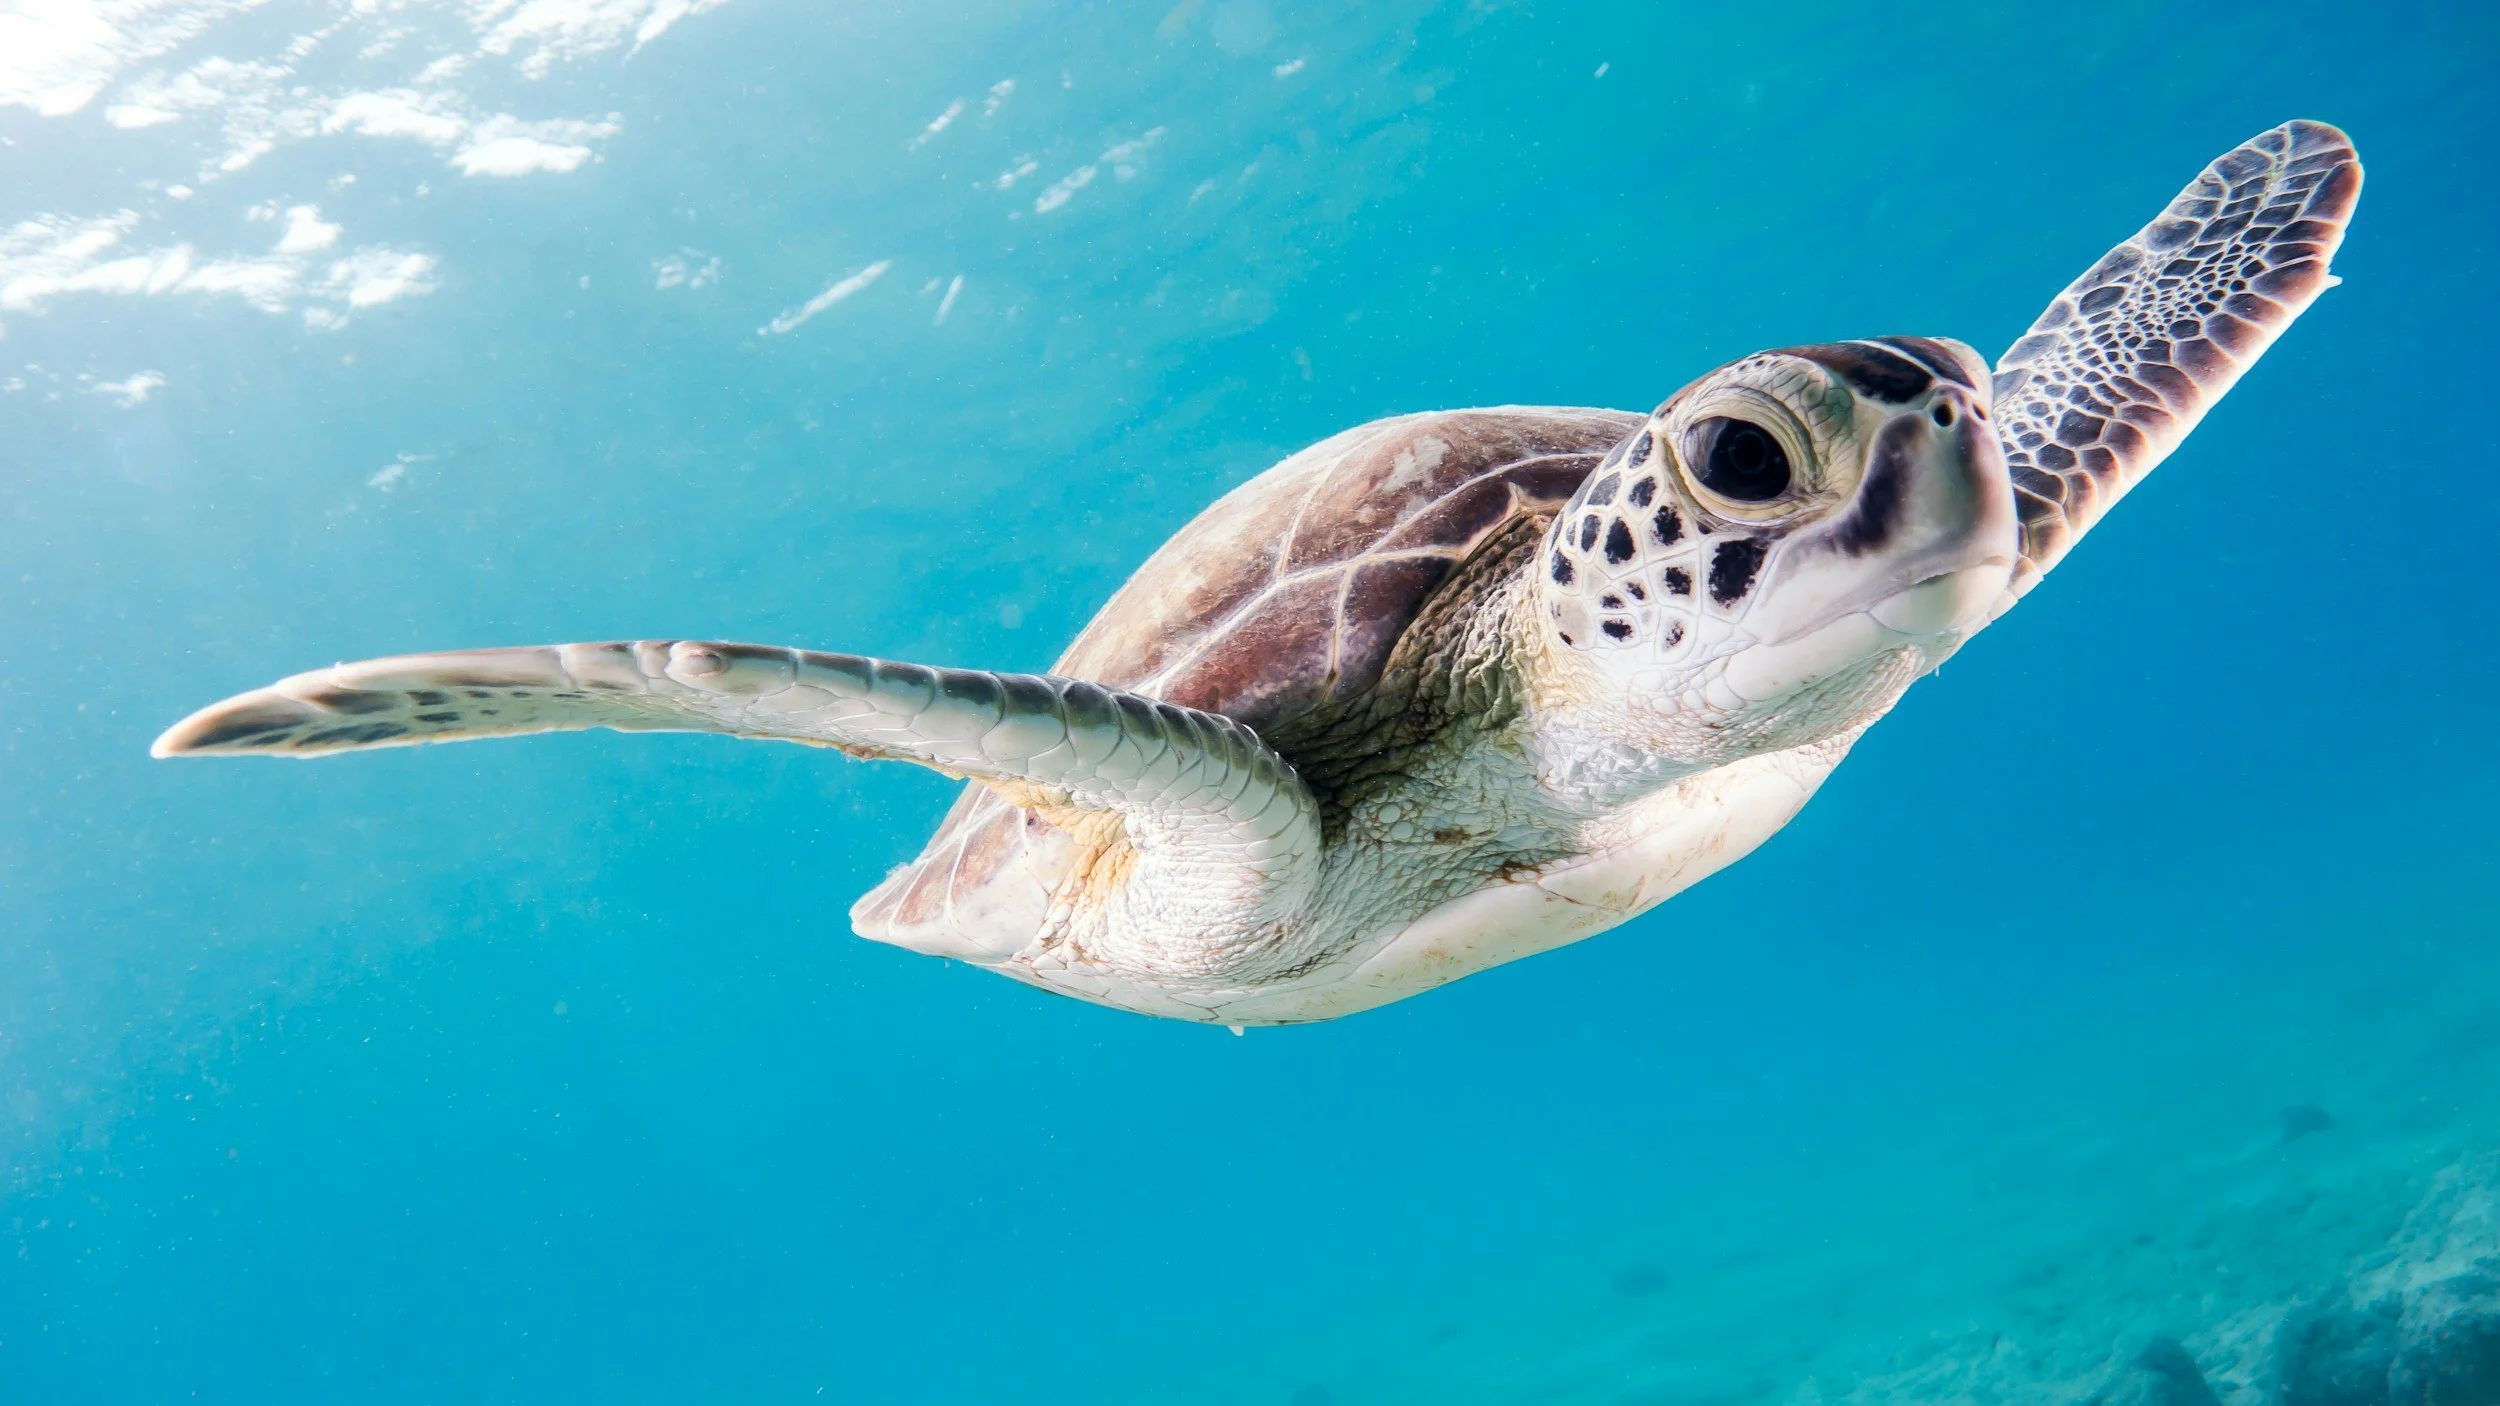
Shooting slightly upward puts clean blue water behind your subject. Photo: Kris-Mikael Krister / Unsplash
Best Roatán dive sites for photography
Sandy Bay sits inside the Sandy Bay–West End Marine Reserve, and with two boats (Ensa and Won Xul) we can pick the site that matches the day's conditions and what you want to shoot.
Green and hawksbill turtles — Overheat Reef and Four Sponges, right off our dock; also Turtle Crossing, West End Wall, Tortuga Terrace and Fish Den. Use a wide lens, shoot from slightly below, and let the turtle come to you.
Spotted eagle rays — open water off the wall. Wide lens and a fast shutter; stay still and wait for the pass.
Barracuda — hovering near drop-offs and walls. Shoot a side-on silhouette against the blue.
Nurse sharks — resting in sandy areas near the reef. Stay low and slow, so you don't kick up sand.
Moray eels — peering out of reef crevices. Eye-level, mid-range, or macro; don't reach in.
Octopus — hiding in reef crevices, often camouflaged. Macro with a focus light; patience pays. Best to do at night for the best chances to see an octopus.
Seahorses — clinging to seagrass and other structures. Macro, gentle approach, minimal strobe.
Lionfish — common across the reef. Light the fins from the side for drama.
Hard and soft corals — every site. Wide with a diver for scale, or macro for textures.
Subjects and sites from our Roatán dive sites page and sea turtle guide.
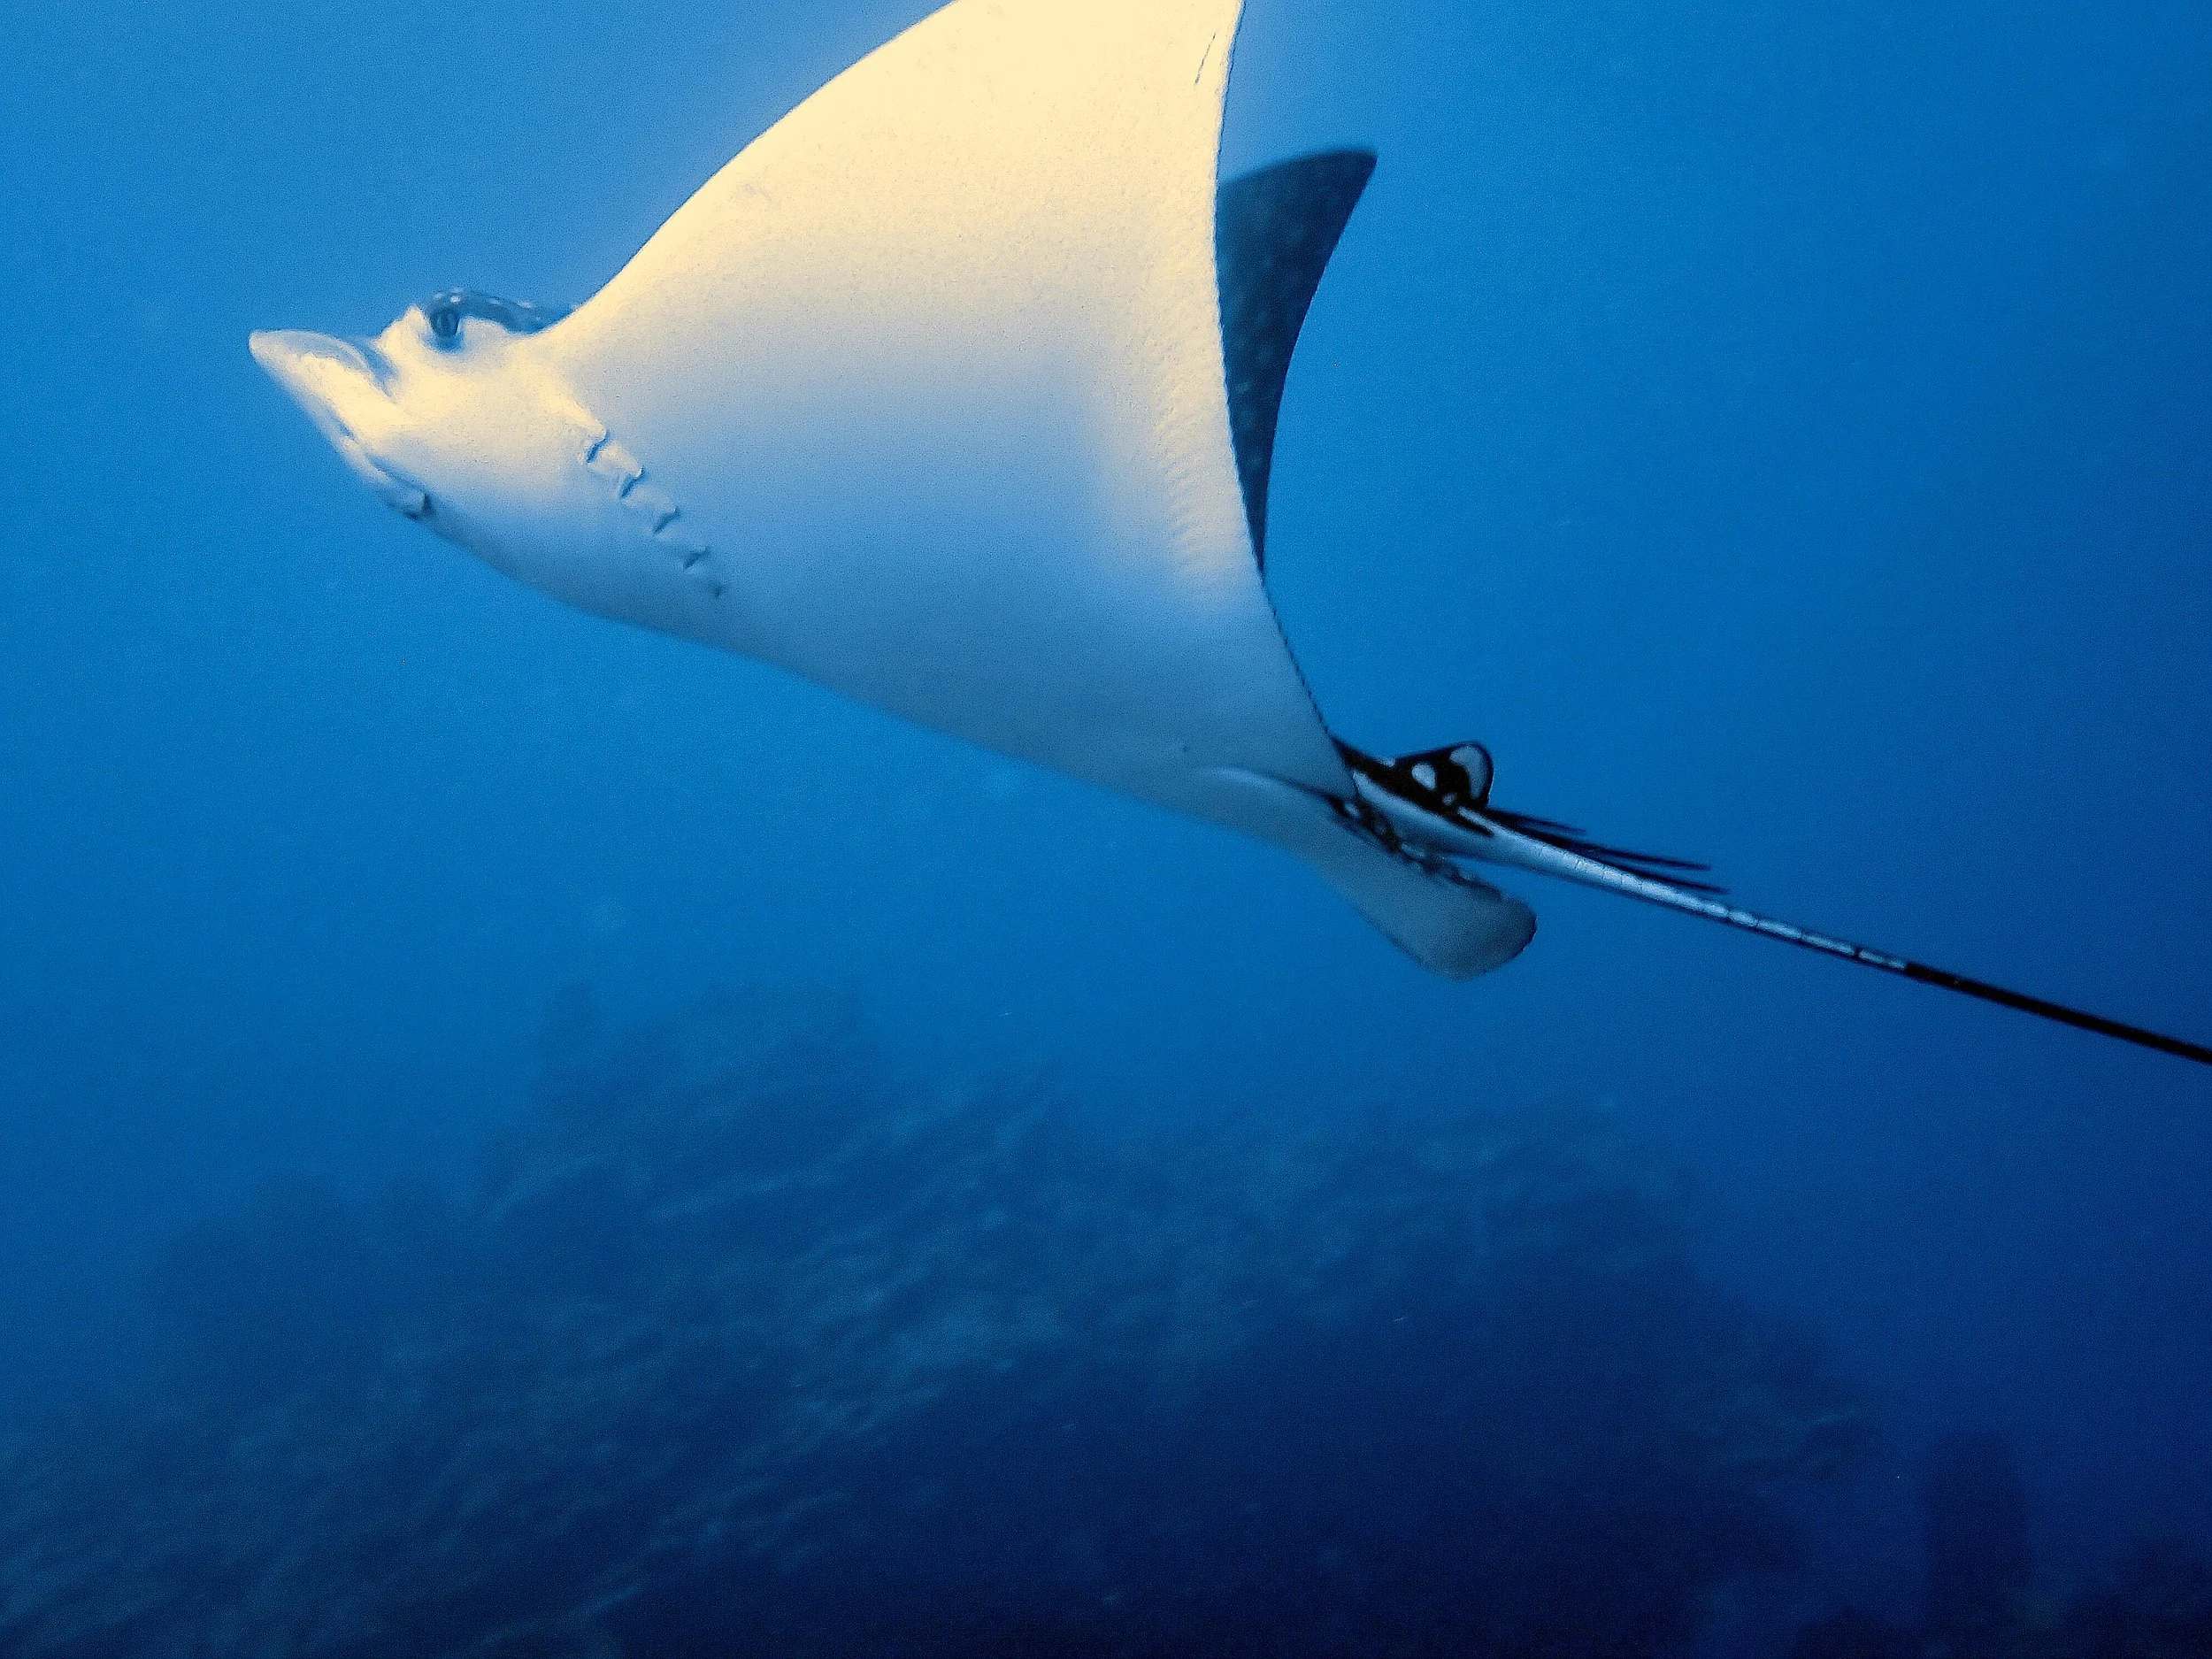
A spotted eagle ray gliding off the wall near Sandy Bay, Roatán. Photo: Sandy Bay Divers
Tip: tell your guide before the dive what you're hoping to shoot. Our crew knows where the critters like to hang out, and you can book a dive around what you want to shoot.
Ask Chad, one of our instructors, and he'll happily tell you all about his love for Consuelo’s dive site. It's a guest-photographer favorite, with lionfish posing on the reef, sweeping reefscapes and, if you're lucky, a spotted eagle ray gliding past.
Dive skills and PADI courses for photographers
The best underwater photographers are great divers first. When you don't have to think about your depth, your air or your fins, all your attention goes into the shot.
We see it at the shop all the time: one of the biggest leaps in a diver's photos comes right after their PADI Peak Performance Buoyancy course. More stability and calm in the water means sharper shots, and for close-ups it cuts the risk of kicking up silt and clouding the scene. So if you're stepping into photography, get your buoyancy dialed in before you bring a camera. It's not just about better pictures. It's about keeping you, the reef, and your camera investment safe.
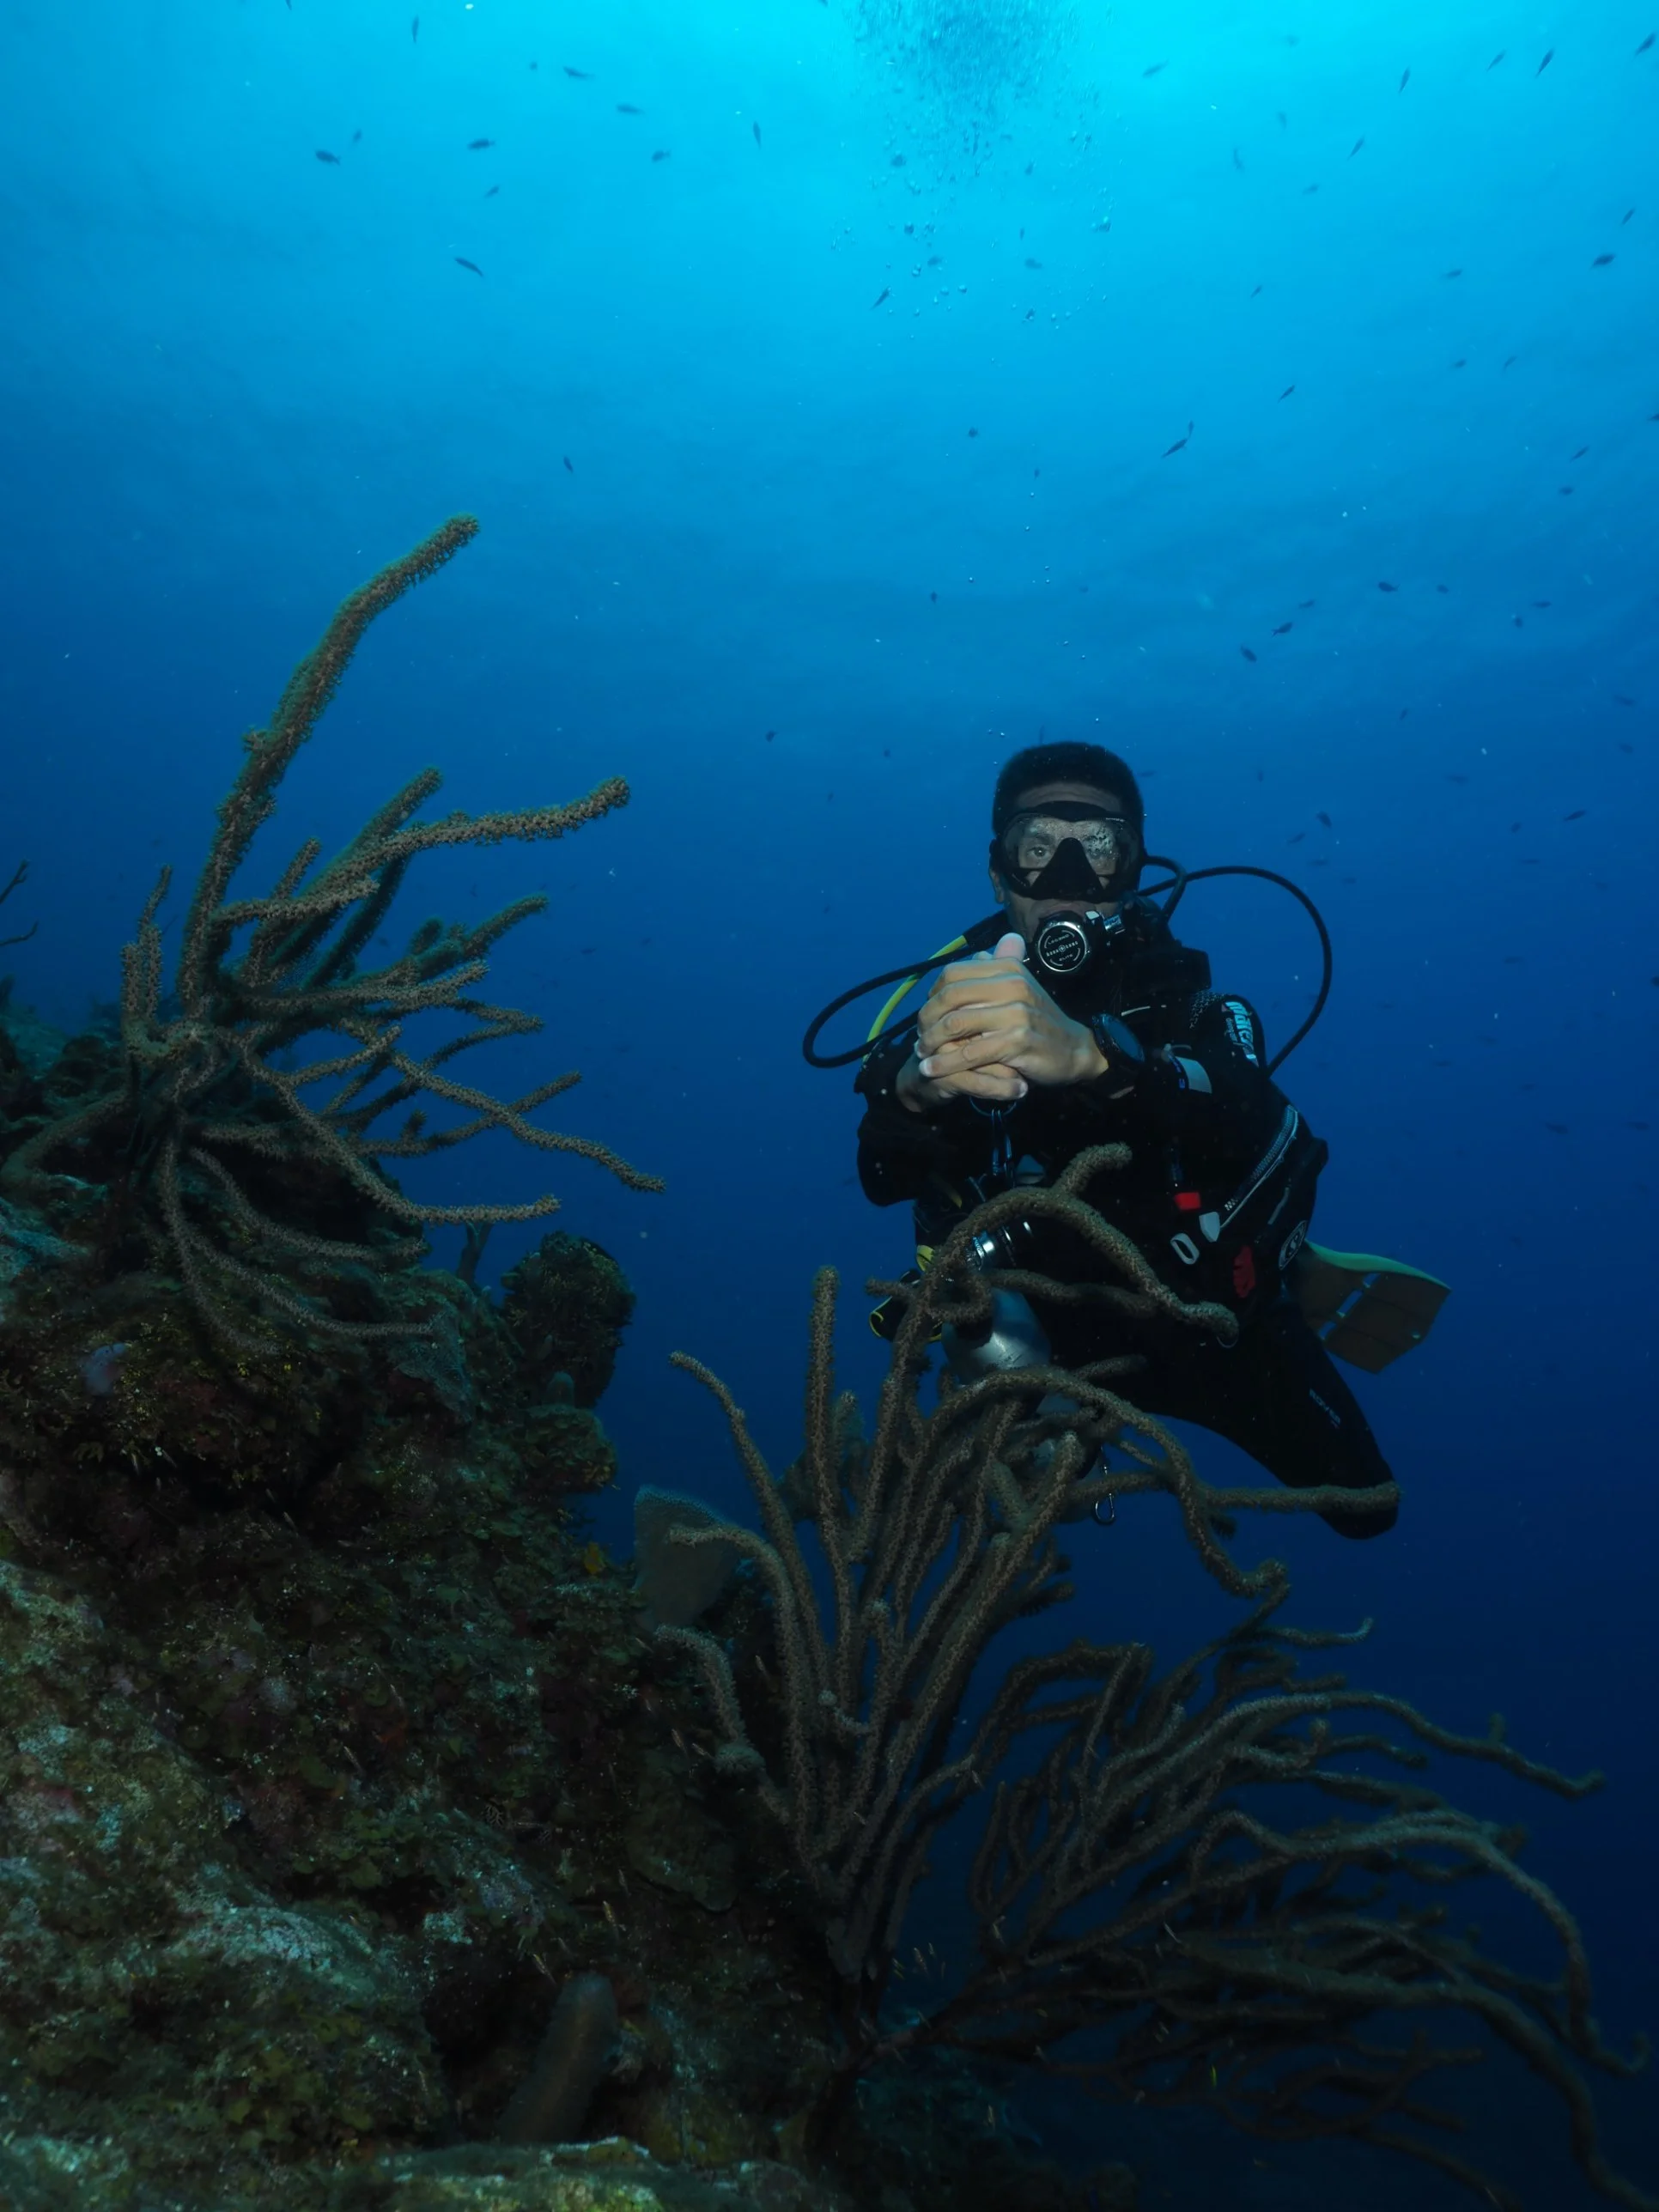
Perfect trim on a Roatán reef wall: hovering still is what makes sharp underwater photos possible. Photo: Anna Borysova
Skills to practice
Buoyancy and hovering — staying perfectly still in mid-water so you can frame, focus and shoot without drifting or kicking up sand.
Trim — staying horizontal so your fins stay off the reef.
Frog kick and back kick — gentle kicks that don't stir up sediment, plus the ability to back away from a subject.
Breath control — fine-tuning your depth with your lungs instead of your BCD.
Correct weighting — carrying only the lead you need.
Buddy awareness — agree on hand signals and stay together, even when you're focused on a shot.
Courses worth taking
PADI Peak Performance Buoyancy (PPB) — hones weighting, hovering, fin technique and breathing control, the foundation for steady shots and reef-safe photography. Open Water Diver, age 10+.
PADI Digital Underwater Photographer — teaches choosing a camera system, PADI's SEA method (Shoot, Examine, Adjust) and composition across two dives; counts toward Advanced Open Water. Open Water Diver.
PADI Enriched Air (Nitrox) Diver — more no-decompression time, especially on repeat dives: more time to wait for that perfect shot. Open Water Diver.
PADI Advanced Open Water — builds confidence on deeper and specialty dives; the photo specialty can count as one of your adventure dives. Open Water Diver.
PADI Night Diver — opens up a whole new cast of nocturnal critters and teaches you to handle lights. Open Water Diver.
Sandy Bay Divers is a PADI 5 Star Resort. Ask us which of these PADI courses fit your trip (prices are on our price list), and pair them with your fun dives so you practice the skills while you shoot.
Reef-friendly underwater photography: a few house rules
A great photo is never worth a damaged reef. Keep these rules in mind on every dive:
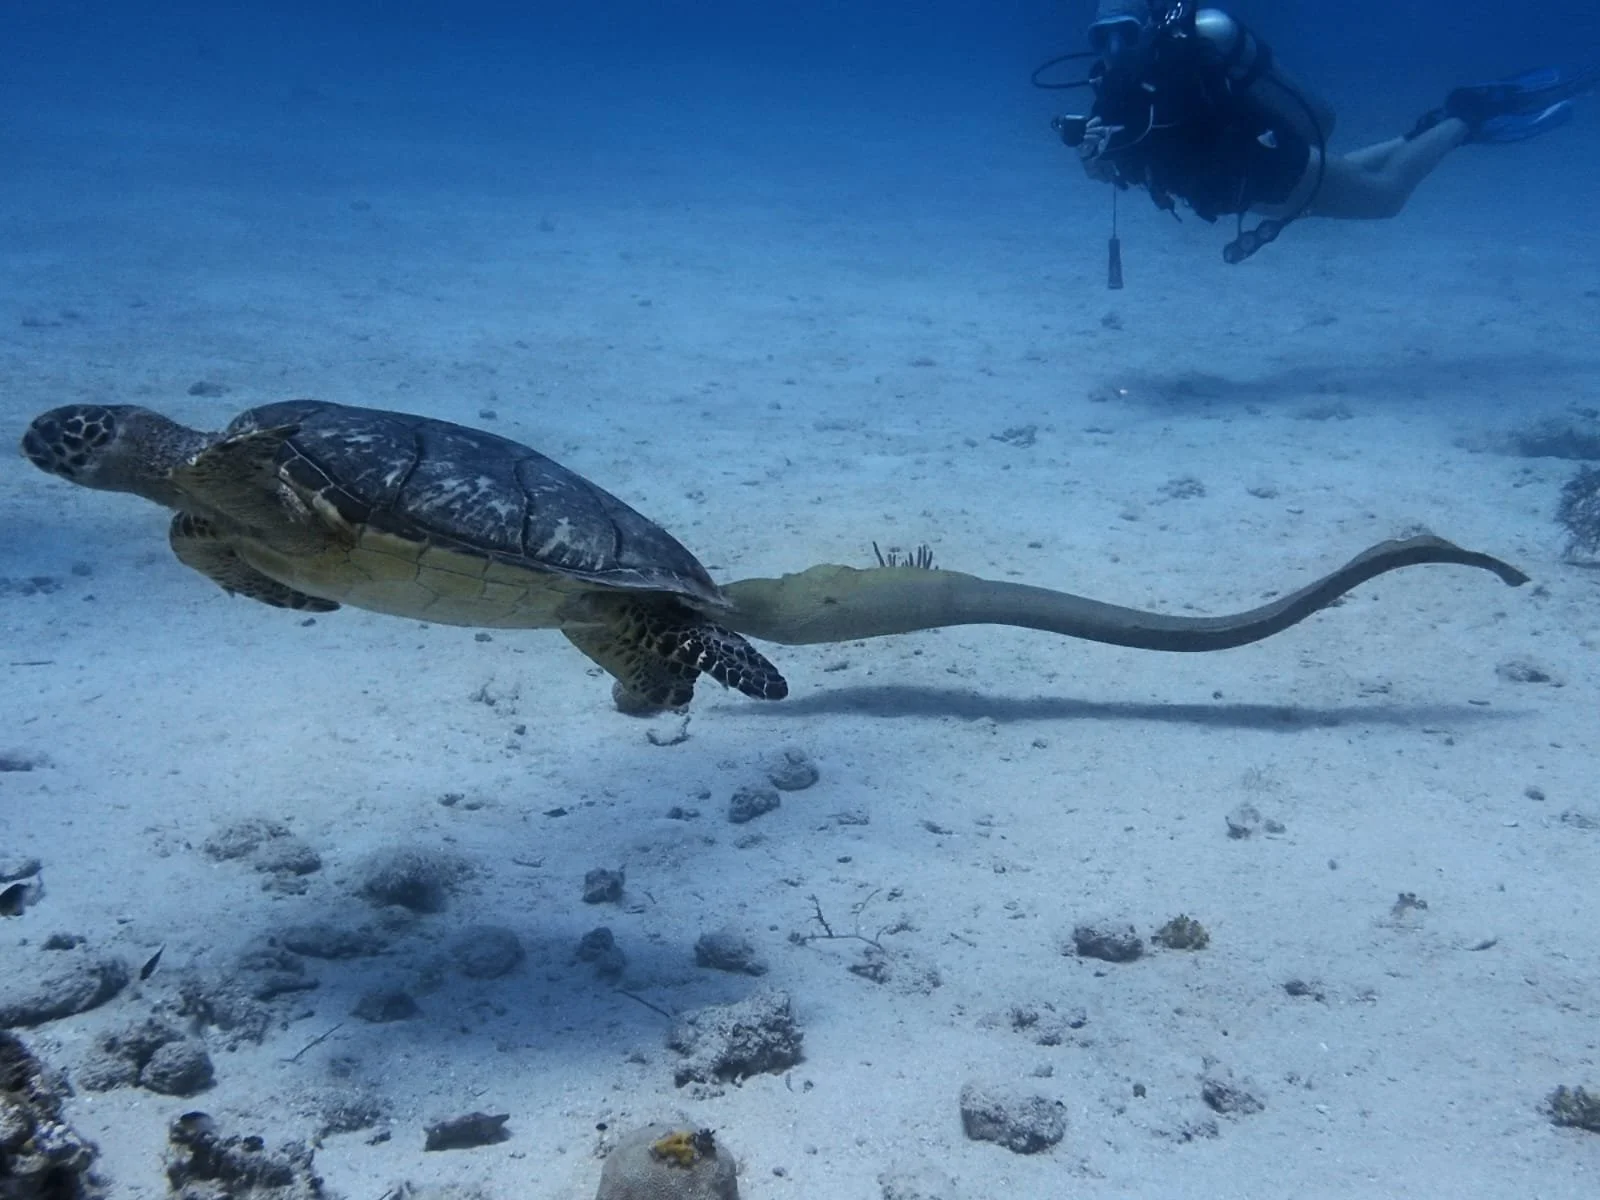
Give turtles space. The best photos come when they choose to stay. Photo: Sandy Bay Divers
Never touch, kneel on, or hold onto coral to steady yourself.
Keep fins up and away from the reef, especially when you stop to frame a shot.
Don't chase, move, or harass marine life to get a better angle. Shooting turtles? Follow our sea turtle house rules.
Go easy on strobes with sensitive animals, and never block their path.
Secure all gauges, hoses, and camera gear so nothing drags.
Protecting the reef means it'll still be here — and still beautiful — for your next trip.
Underwater photography FAQs
Is my phone good enough for underwater photos?
Yes, in the right housing. Modern phones take great photos in shallow, sunny water. Just make sure the housing is rated deeper than you'll dive. A phone's own water resistance isn't enough for scuba.
Do I need a strobe?
Not to start. A red filter or a small video light helps a lot. Once you want sharp, colorful close-ups or you're shooting deeper, a strobe is the next upgrade.
Should I bring a camera on my very first dive?
Honestly, we'd wait. Get comfortable with your buoyancy and breathing first — our guide to your first dive in Roatán is a good place to start. Once diving feels easy, the camera gets a lot more fun (and your reef stays a lot happier).
Wide angle or macro first?
Wide-angle for most Roatán divers. Turtles, walls, and big reef scenes are what most people want to bring home. Add a macro lens next for the small stuff.
Can I hold onto the reef to keep the camera steady?
No! Never touch, kneel on, or grab the reef. That's exactly what buoyancy training is for.
What's the best time of day for photos?
The brightest hours, from late morning to early afternoon, give the most natural light on shallow reefs. Our 09:00, 11:00 and 13:30 boats cover them nicely.
Come dive (and shoot) with Sandy Bay Divers in Roatán
"Dive with the pros — it's who we are, it's what we do."
6:1 divers to Divemaster, maximum · 2 boats, Ensa & Won Xul · 3 daily departures at 09:00, 11:00 and 13:30 · 300+ named dive sites around Roatán.
Small groups mean your guide has time to slow down, find the subject, and let you get the shot. Tell us what you're hoping to photograph — turtles, eagle rays, a wall dive, or the tiny stuff — and we'll pick the site to match. You'll find us at Blue Bahia Resort in Sandy Bay.
Got a shot you're proud of? Come and show us! Our whole team loves seeing the underwater world through our divers' eyes, and sharing the passion is half the fun. If you'd like your photo featured here on the blog or on our social media, just let us know.
Book a dive · Send us a message · WhatsApp +504 8896-5939 · info@sandybaydivers.com
See you underwater!
Keep reading on the Sandy Bay Divers blog
New to Scuba? 8 Things to Know Before Your First Dive in Roatán
Explore 300+ Roatán dive sites · PADI courses · Price list · Meet the crew